Setup Required
Setup required before you can use the Picking Functionality and Kanban Requests in Acumatica
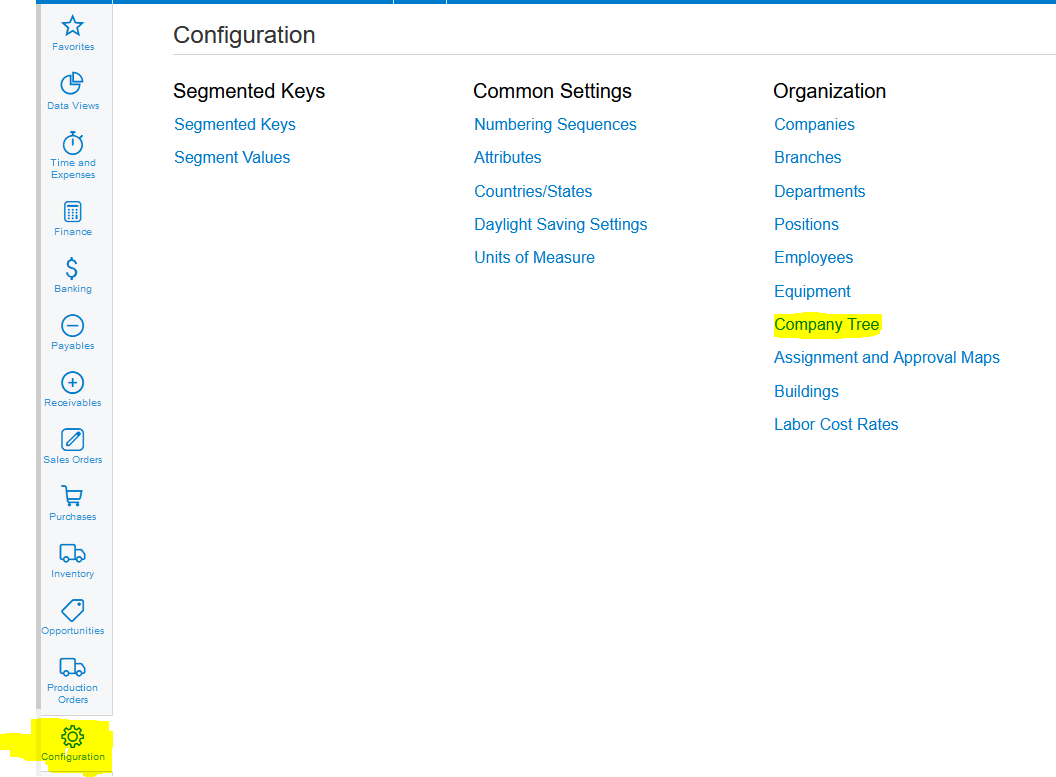
1. You need to setup all the relevant Employees as Expeditors on the Company Tree. Click on Configuration>>>Organization>>>Company Tree:
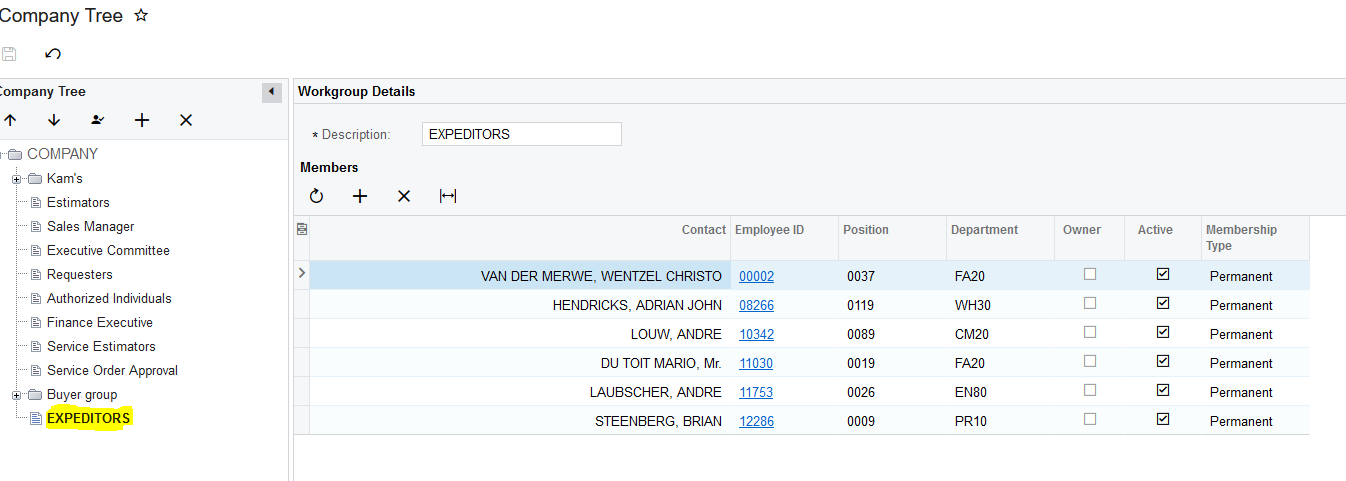
2. Click on the "EXPEDITORS" node in the Company Tree:
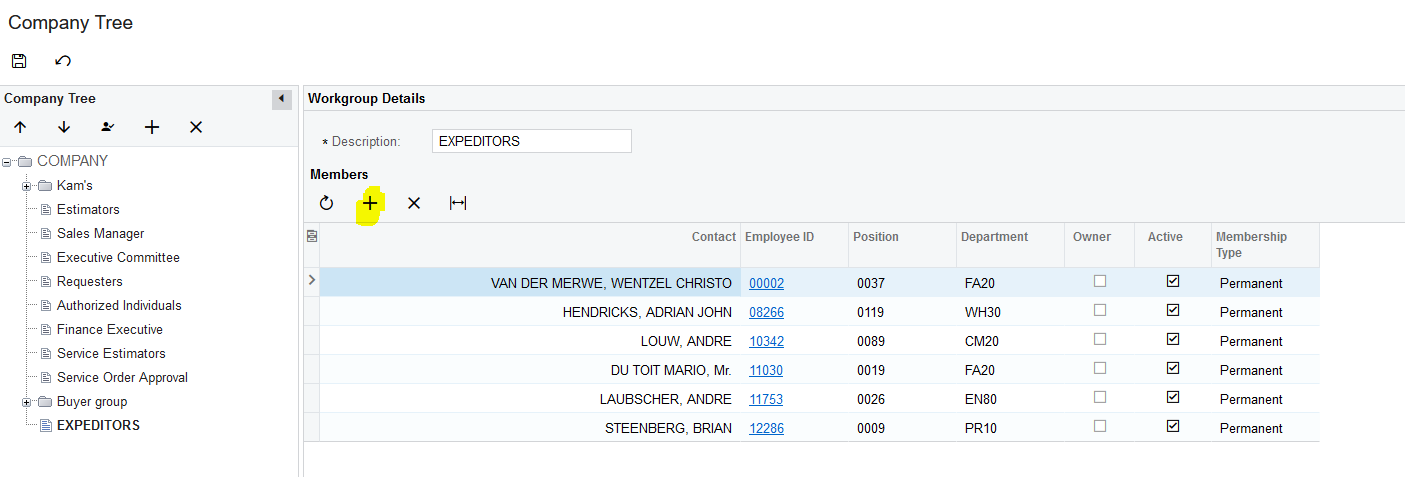
3. Click on the " + " (Add Row) to add Employees to the Expeditors Group:
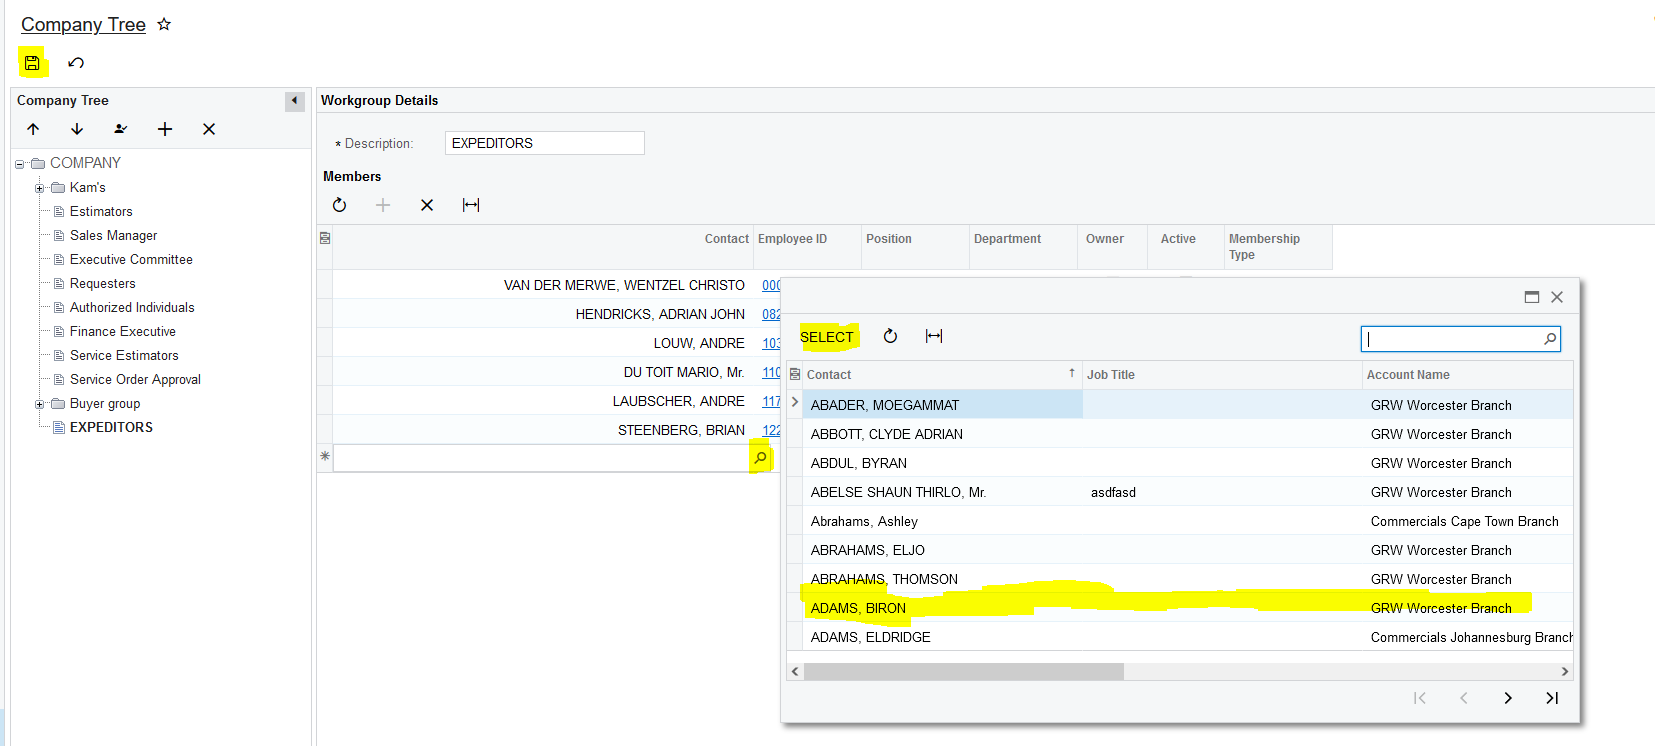
4. Select the relevant Employee by Selecting it from the Contact and once done you can then finally click on "Save":
5. The numbering sequence for the Pickingslips need to be setup. Click on Inventory>>>Show All:
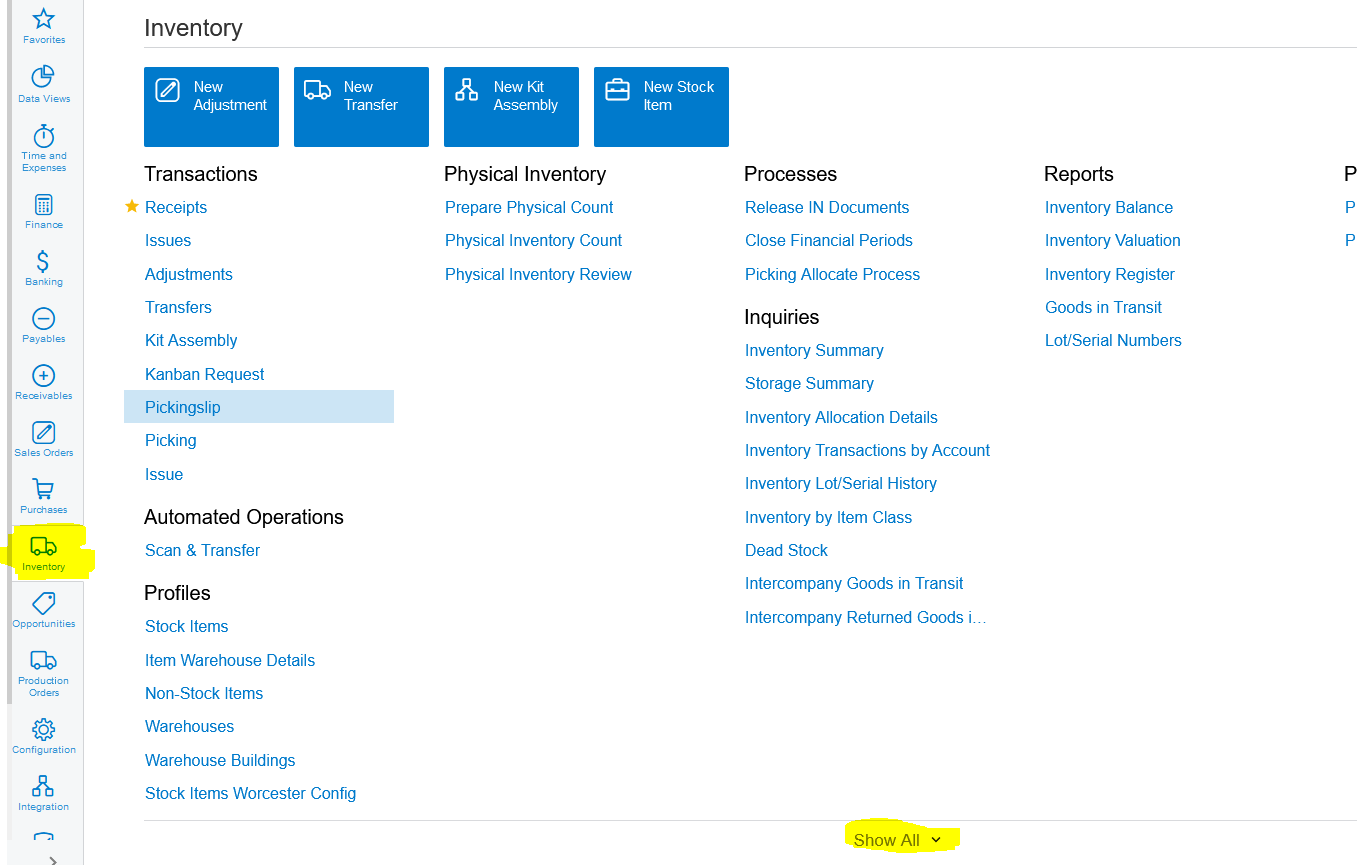
6. Click on Inventory>>>Preferences>>>Inventory Preferences:

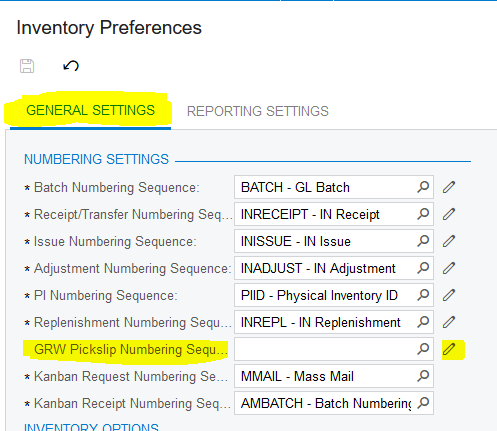
7. Click on the "Edit" next to the field "GRW Pickslip Numbering Sequence" on the "GENERAL SETTINGS" tab:
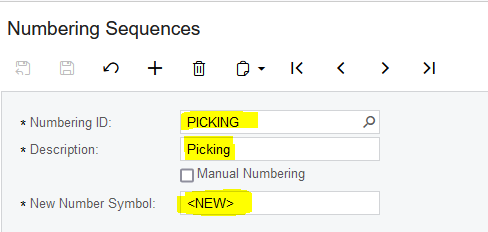
8. Create a numbering sequence for the Pickingslips by creating a "Numbering ID", filling in a proper "Description", and add the "New Number Symbol":
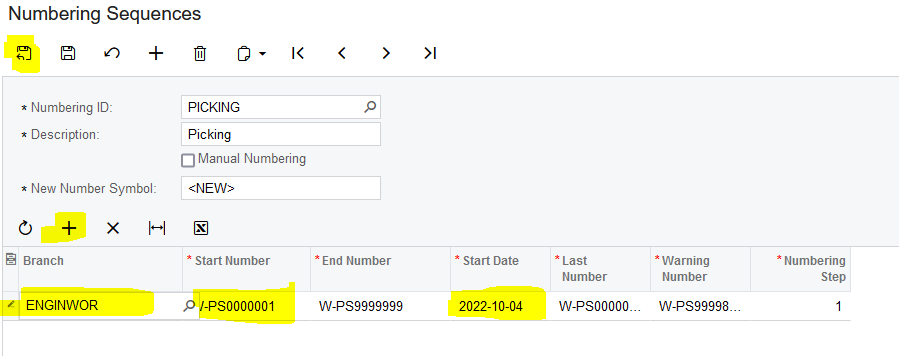
9. Click on the " + " (Add Row) to add the numbering that will be used for the Pickingslips. Choose the "Branch", "Start Number" and "Start Date" and then click on "Save & Close":
10. Click on "Save" back on the Inventory Preferences Screen:

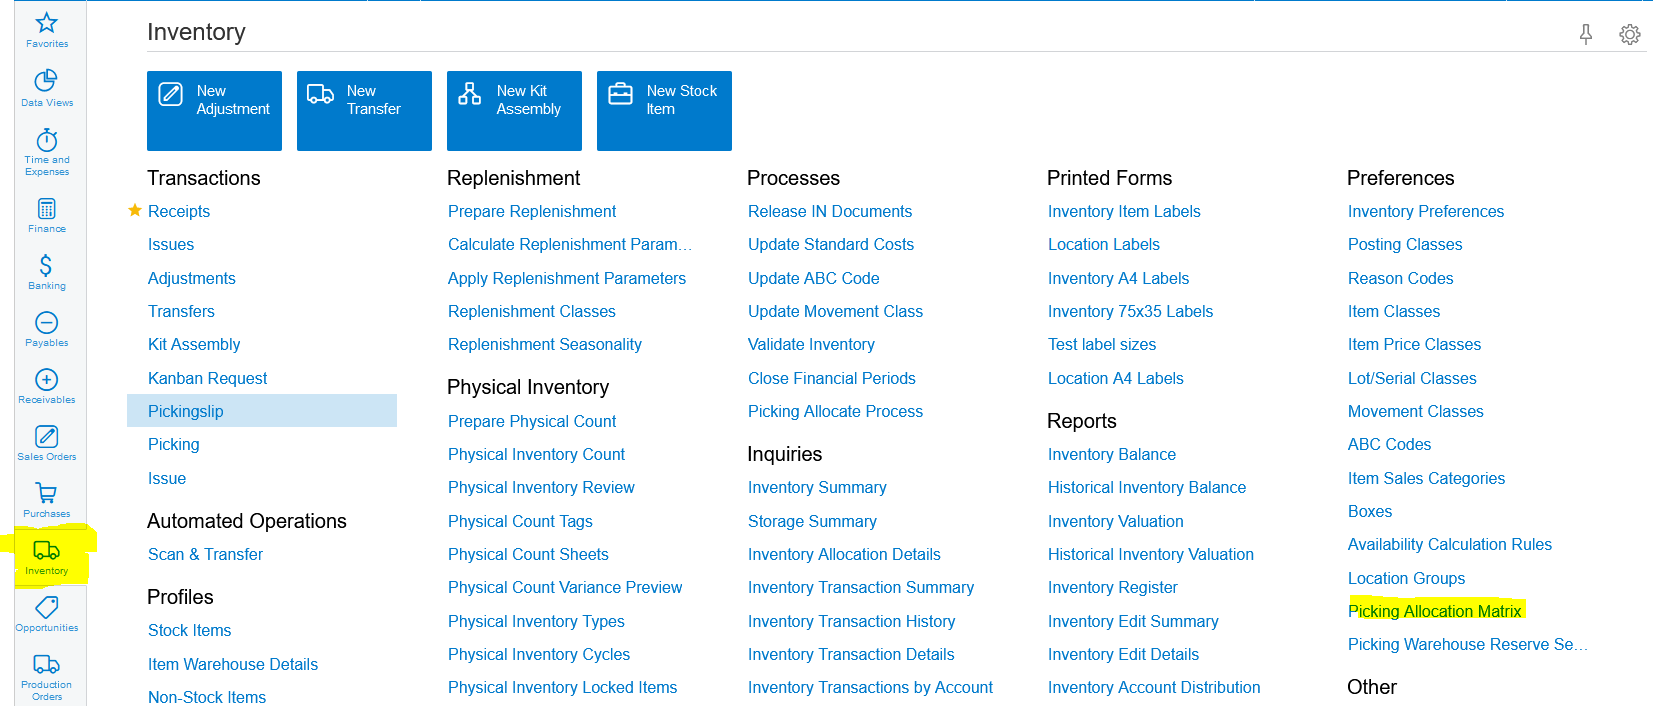
11. The Picking Allocation Matrix for the Pickingslips need to be setup. Click on Inventory>>>Preferences>>>Picking Allocation Matrix:
12. The Picking Allocation Matrix setup can either be done manually by clicking on the " + " (Add Row) or "Load Records From File":
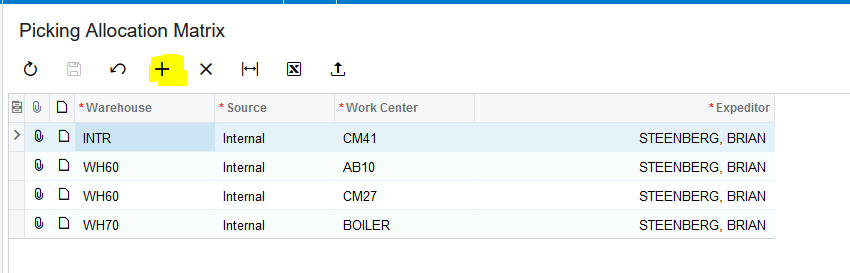
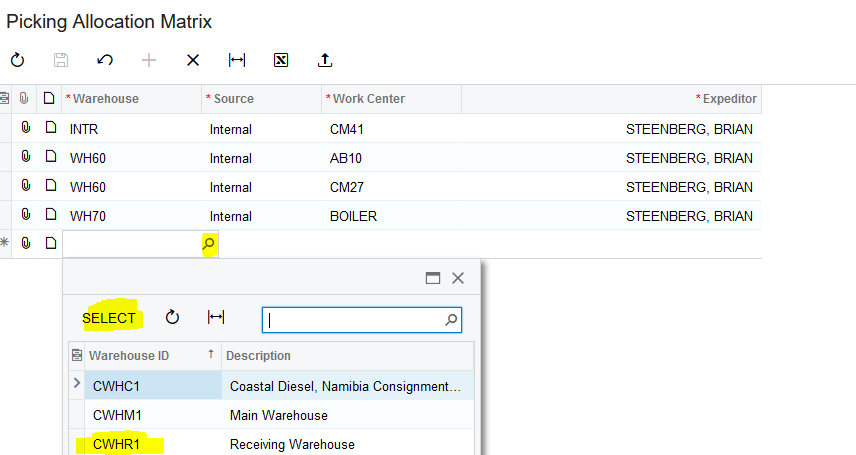
13. You need to select the relevant Warehouse:
14. You need to select if the Source is Internal or External:
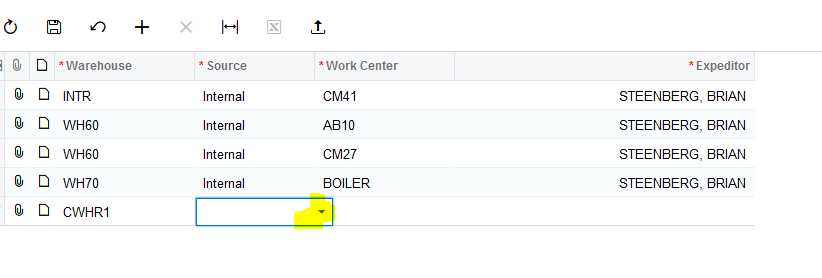

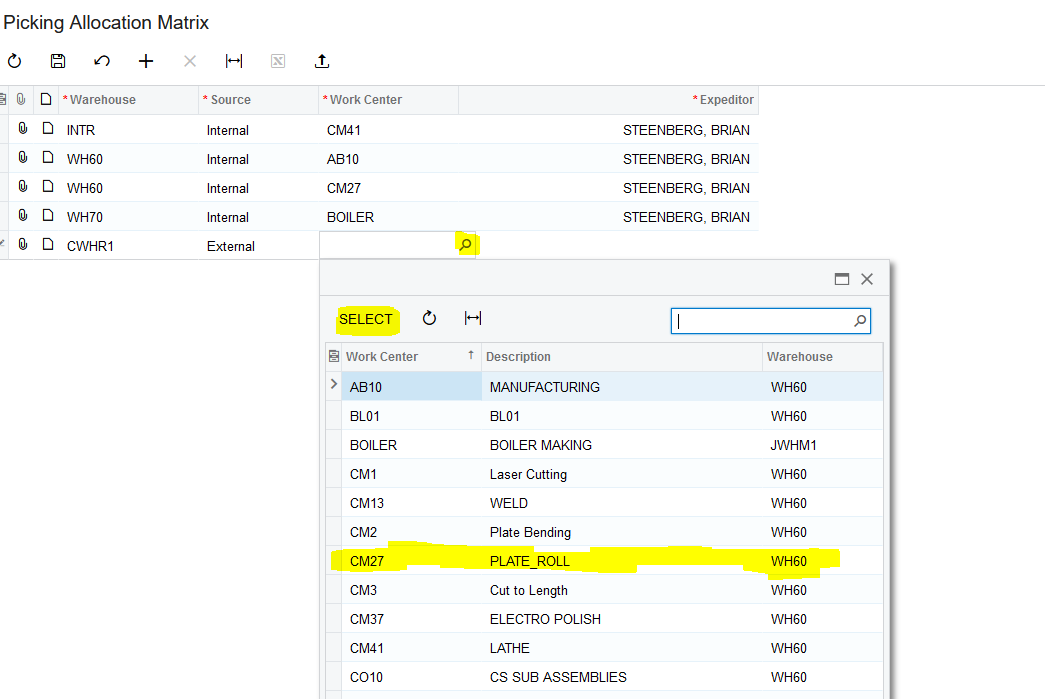
15. You need to select the Work Center:
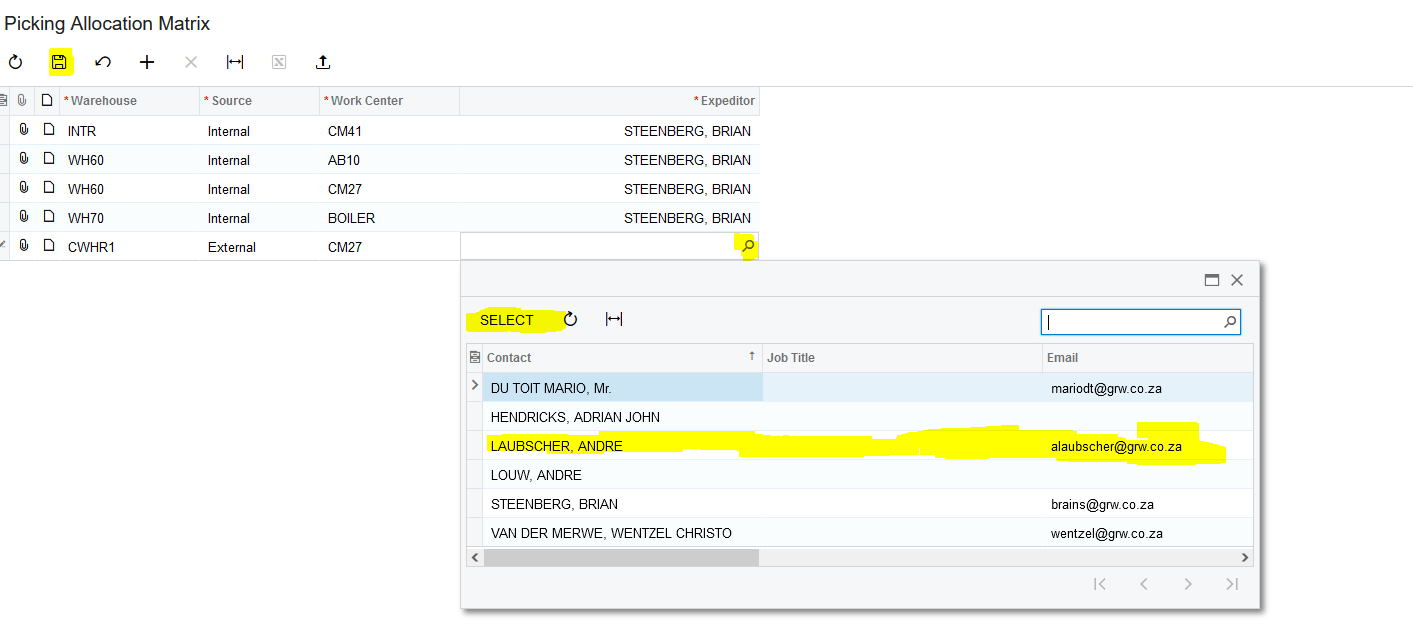
16. Finally you need to select the Expeditor and then click on "Save":
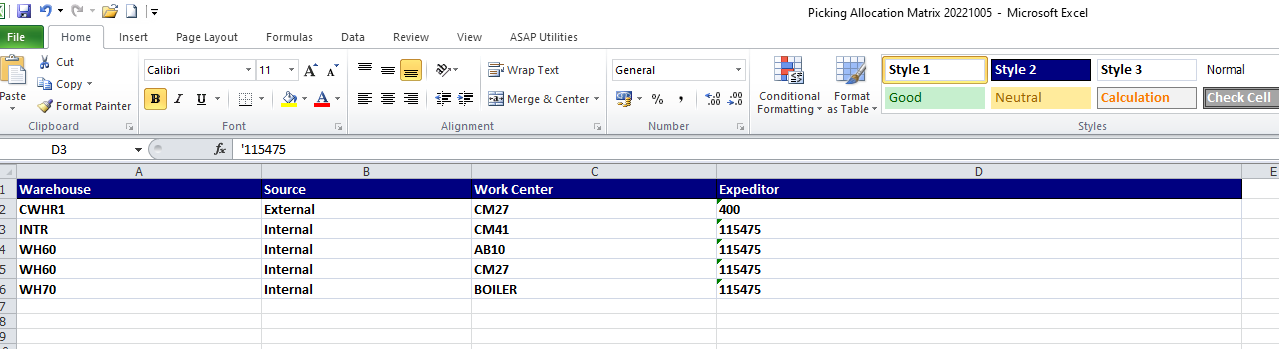
17. If you want to load the Picking Allocation Matrix by using an Excel file you click on "Load Records From File":

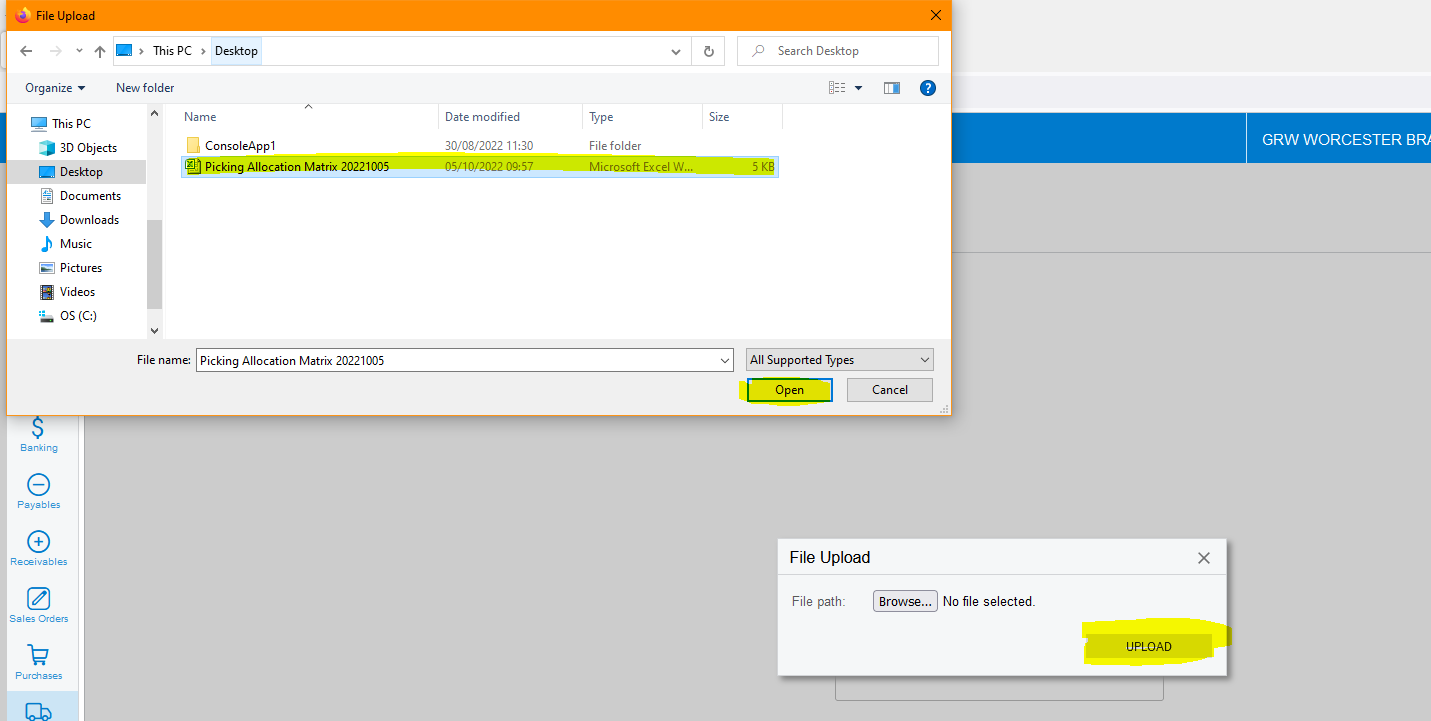
18. Click on "Browse":
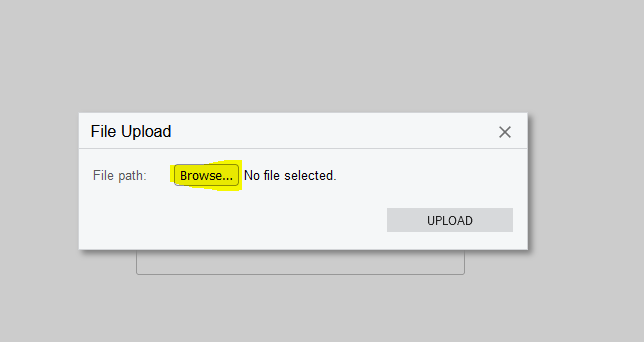
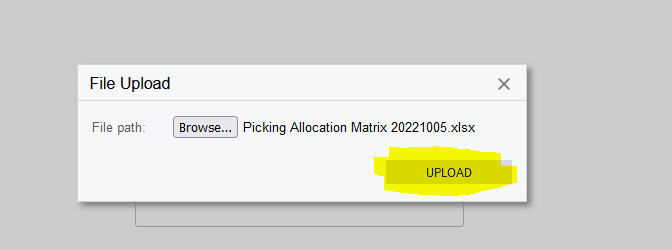
19. Select your Excel file that you want to upload and then click on "UPLOAD":
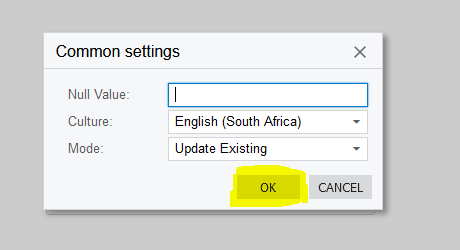
20. Leave the Settings as is and click on "OK":
21. Make sure that you map the Property Names, this will correspond to the columns on your Excel File, correctly to the Column Names, this is the fields on Acumatica. Then you click on "OK":

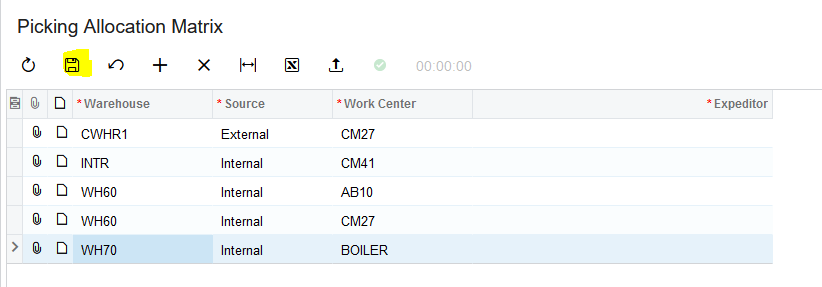
22. Once the Excel File has successfully been uploaded you click on "Save":
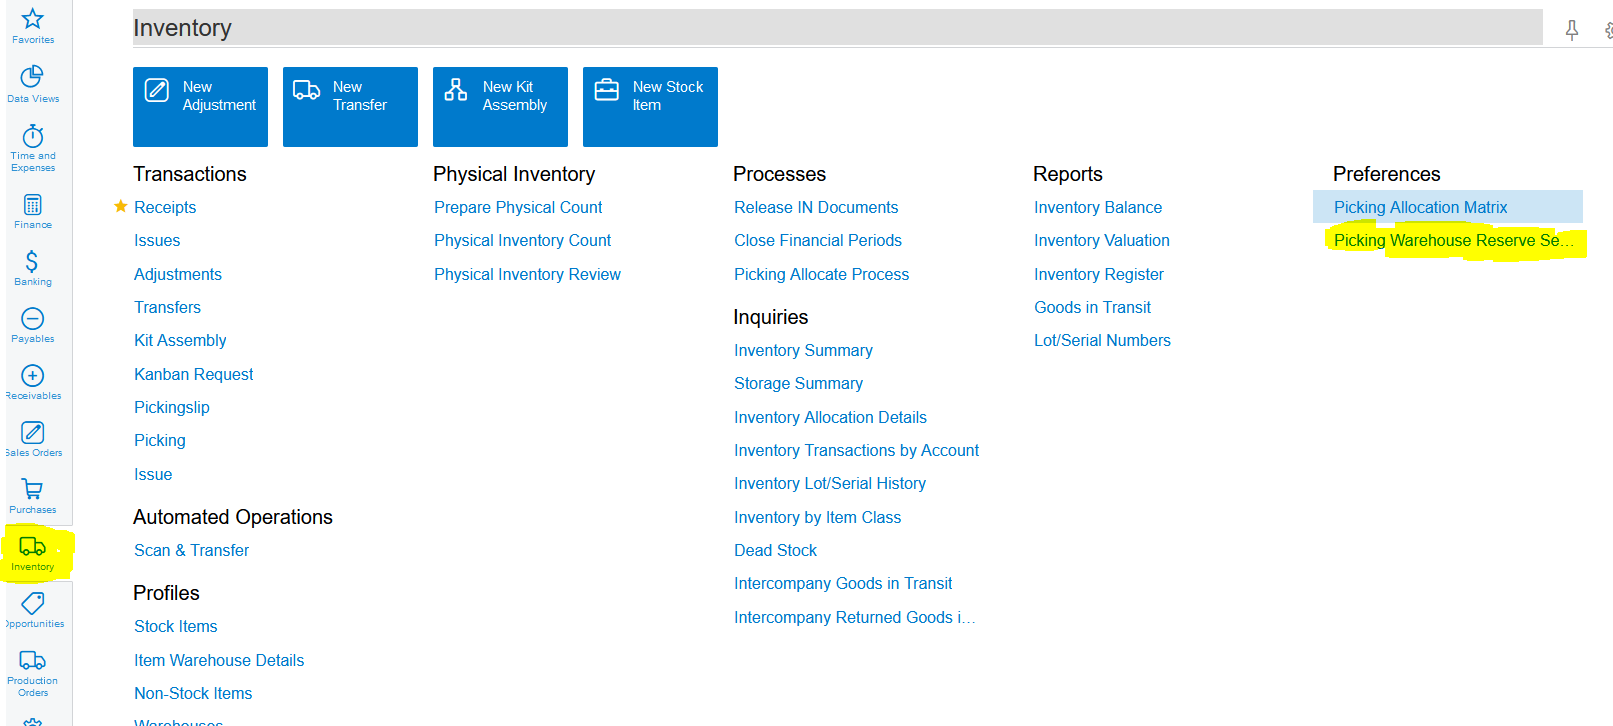
23. The Picking Warehouse Reserve Sequence for the Pickingslips need to be setup. Click on Inventory>>>Preferences>>>Picking Warehouse Reserve Sequence:
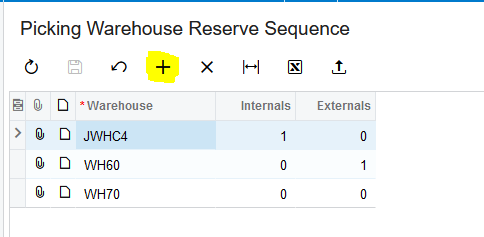
24. The Picking Warehouse Reserve Sequence can either be done manually by clicking on the " + " (Add Row) or "Load Records From File":
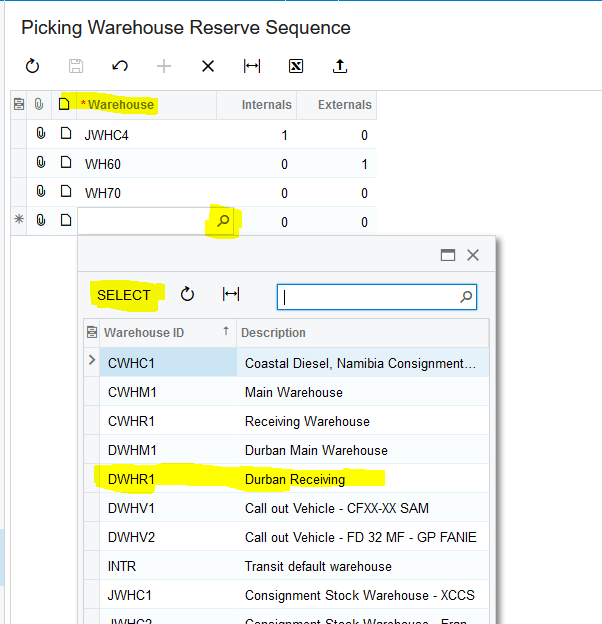
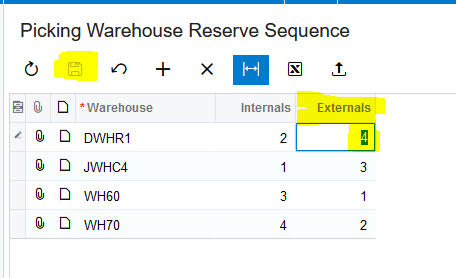
25. You need to select the relevant Warehouse:
26. You need to type in the order in which the Warehouses are picked on the Internals Field:
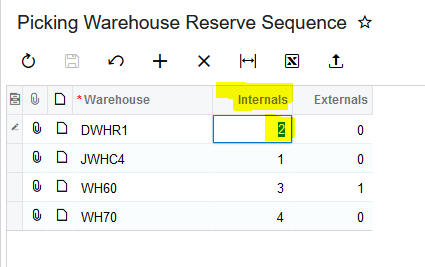
27. You need to type in the order in which the Warehouses are picked on the Externals Field and finally click on "Save":
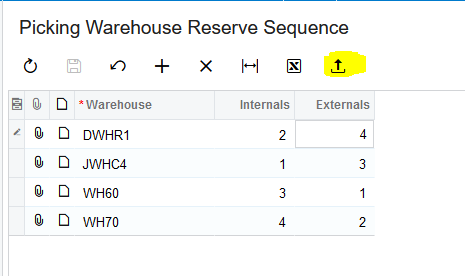
28. If you want to load the Picking Warehouse Reserve Sequence by using an Excel file you click on "Load Records From File":
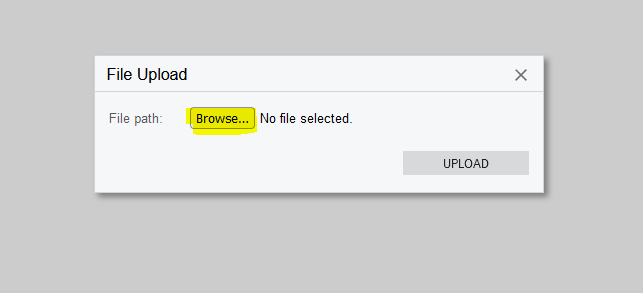
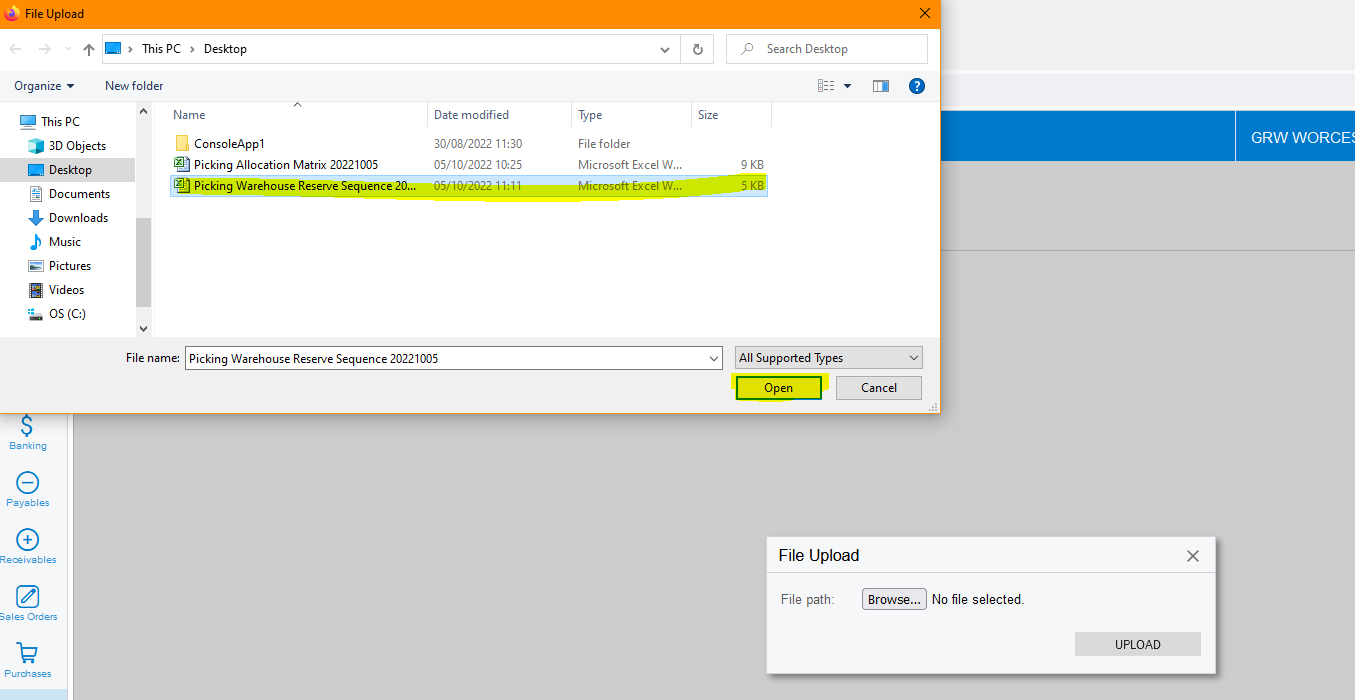
29. Click on "Browse":
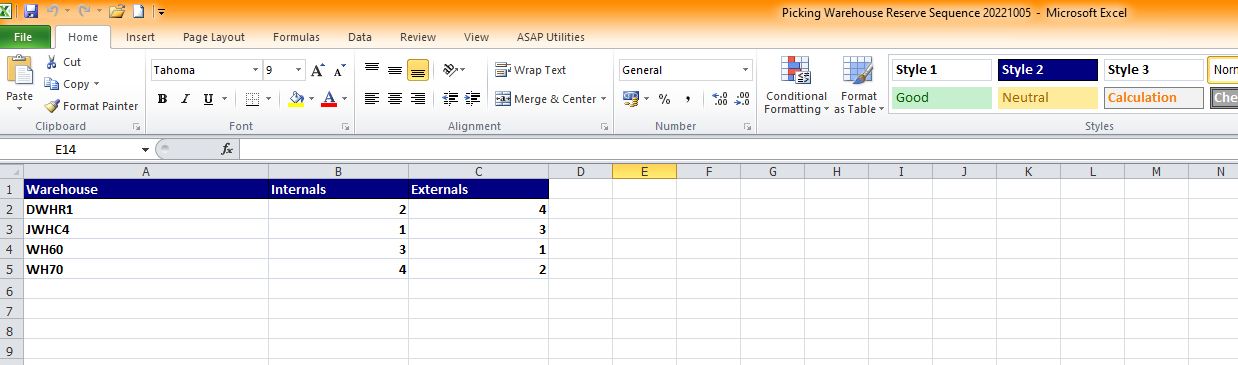
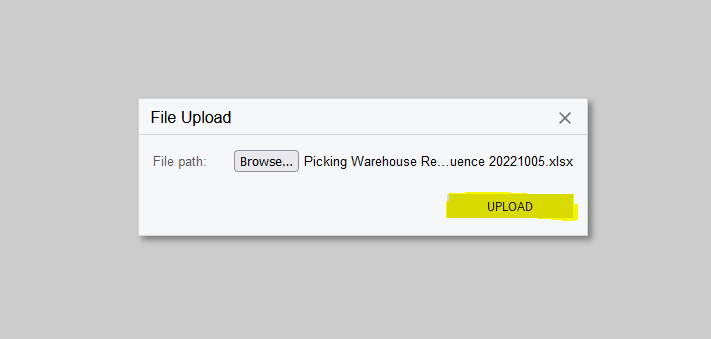
30. Select your Excel file that you want to upload and then click on "UPLOAD":
31. Leave the Settings as is and click on "OK":
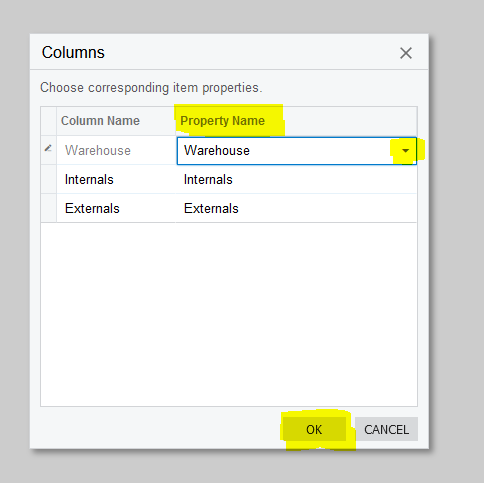
32. Make sure that you map the Property Names, this will correspond to the columns on your Excel File, correctly to the Column Names, this is the fields on Acumatica. Then you click on "OK":
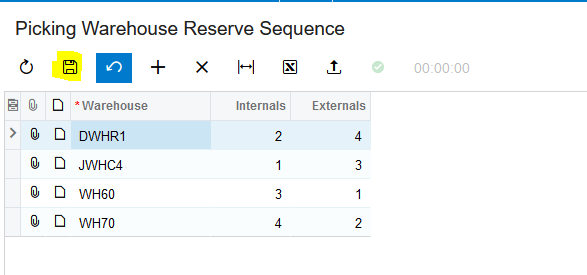
33. Once the Excel File has successfully been uploaded you click on "Save":
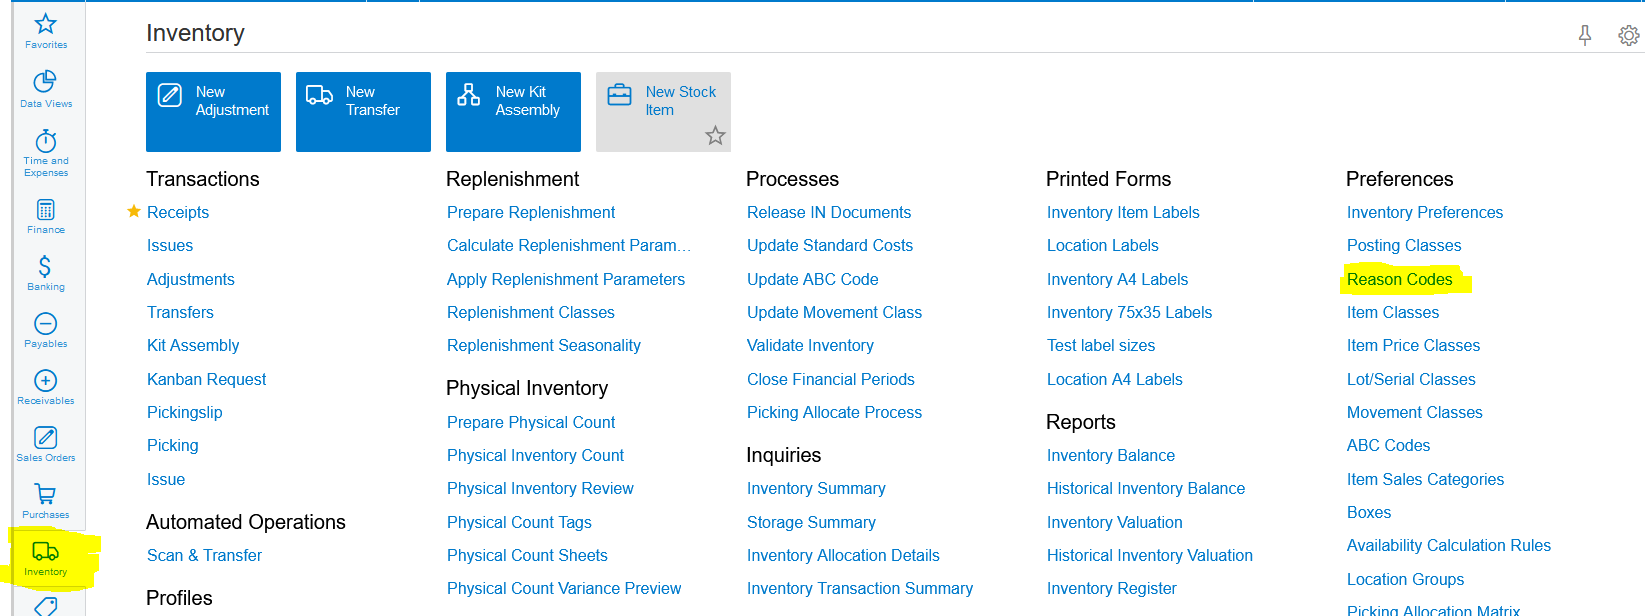
34. The Reason Codes for the Kanban Requests need to be setup. Click on Inventory>>>Show All:
35. Click on Inventory>>>Preferences>>>Reason Codes:
36. Click on the " + " (Add Row) to add the needed Reason Codes for Kanban Requests:
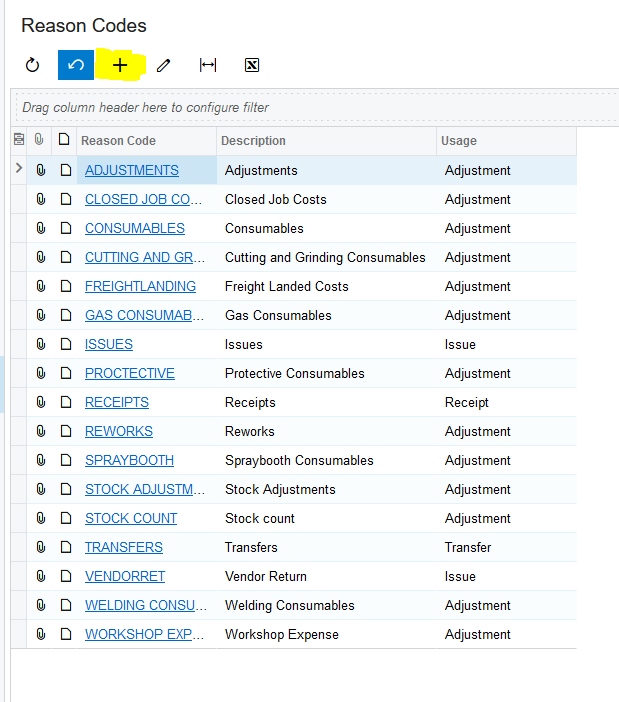
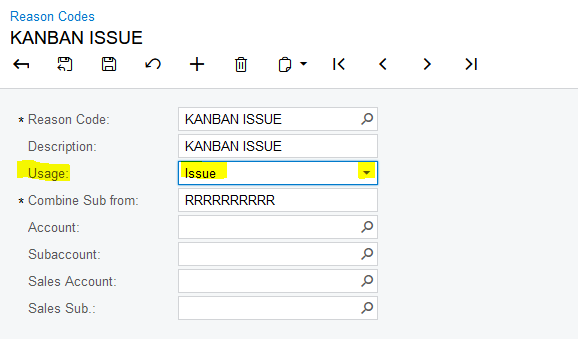
37. Create the following two Reason Codes for the Kanban Requests with the information as below, type in "KANBAN ISSUE" and "STOCK REQUISITION" in the "Reason Code" field and "Description" field:
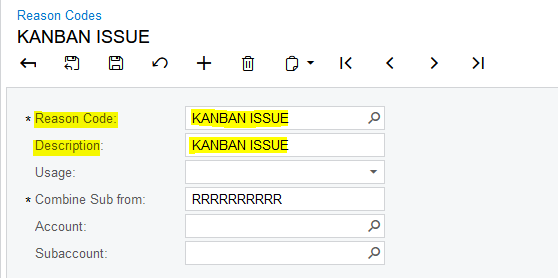
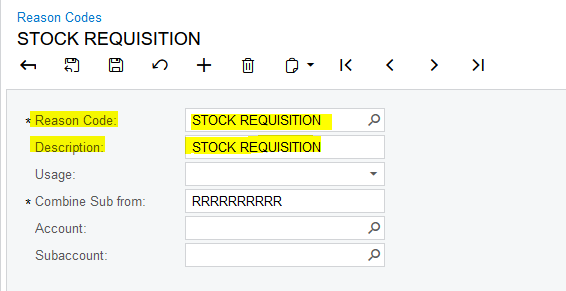
38. In the "Usage" field you will select "Issue" on the Drop down menu for both. Leave the "Combine Sub from" as is:

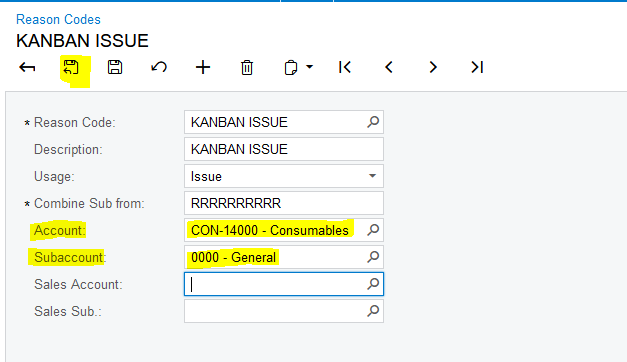
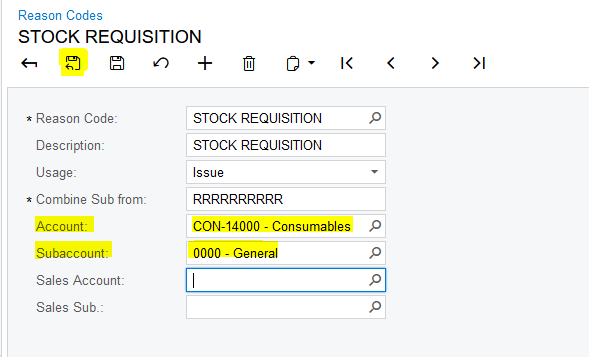
39. In the "Account" field you will select "CON-14000" and for the "Subaccount" field you will select "0000" for both, finally you will click on "Save & Close":
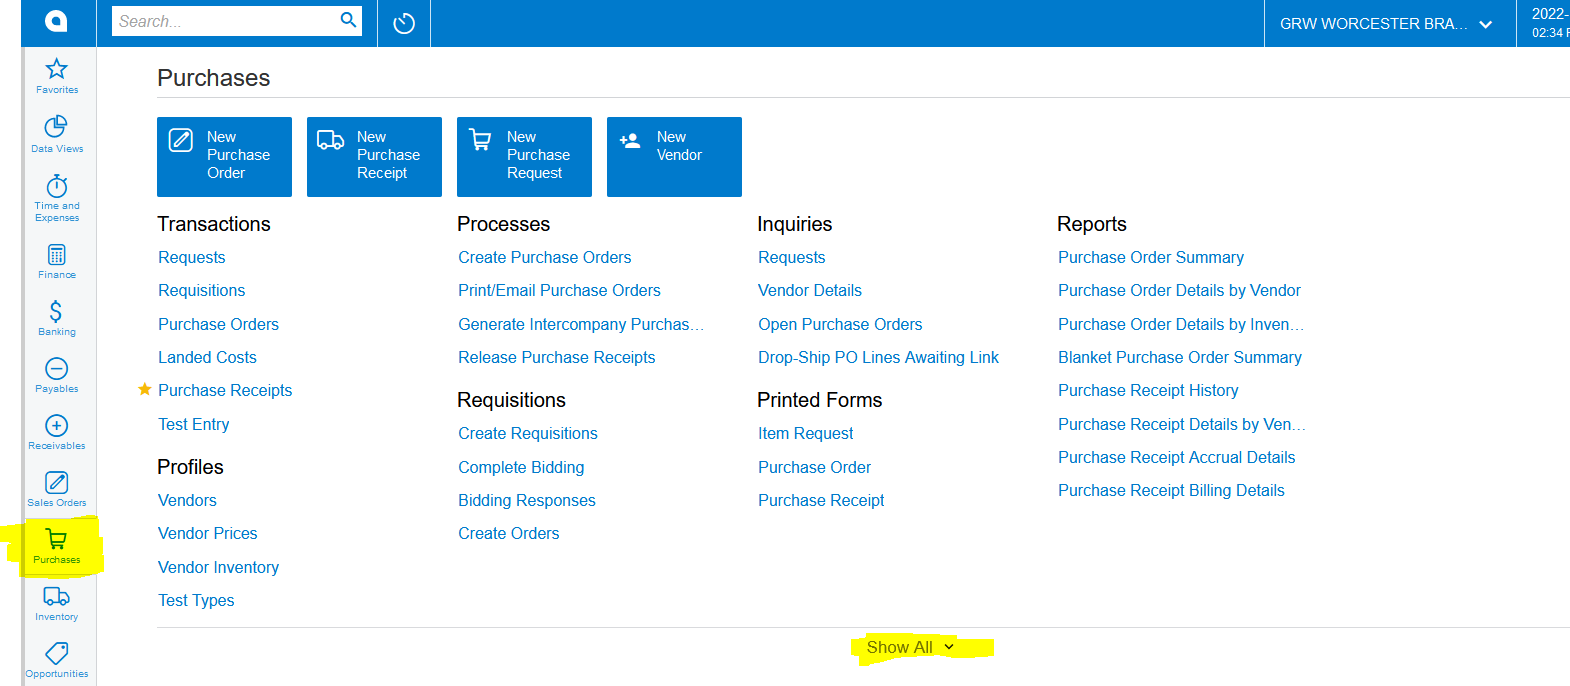
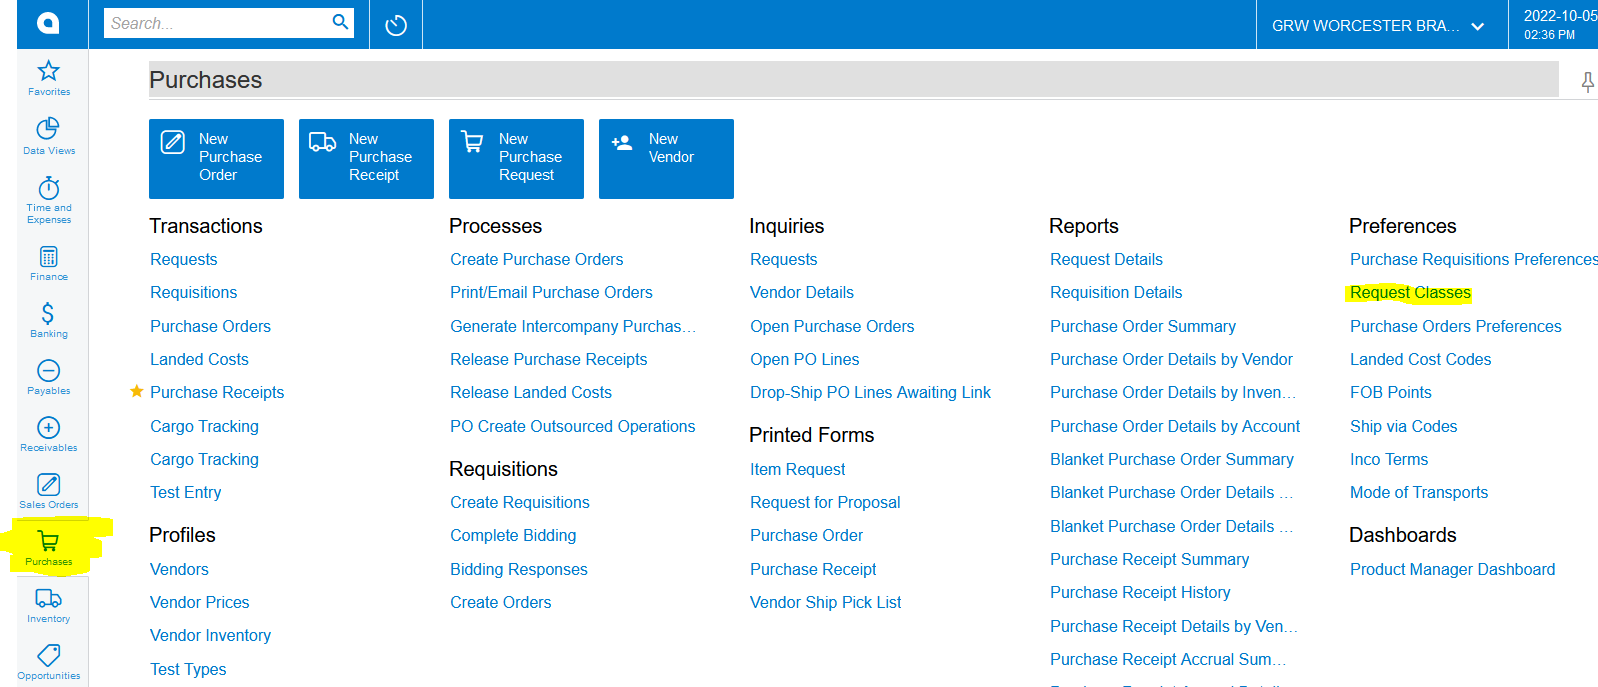
40. The Request Classes for the Kanban Requests need to be setup. Click on Purchases>>>Show All:
41. Click on Purchases>>>Preferences>>>Request Classes:
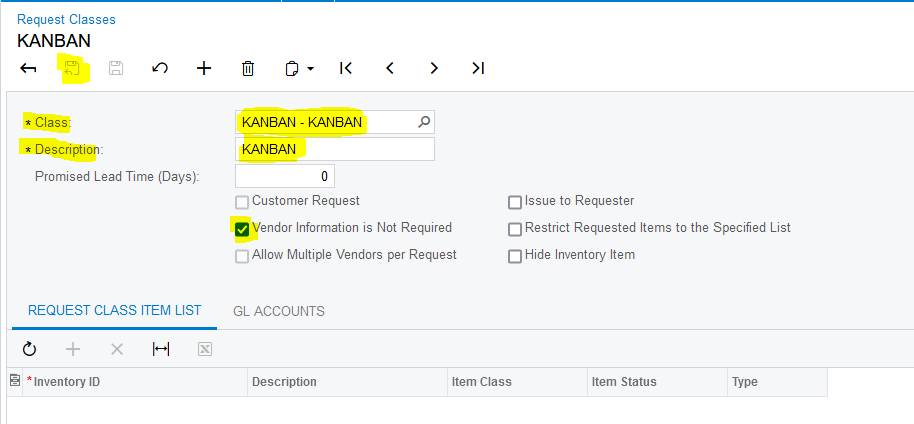
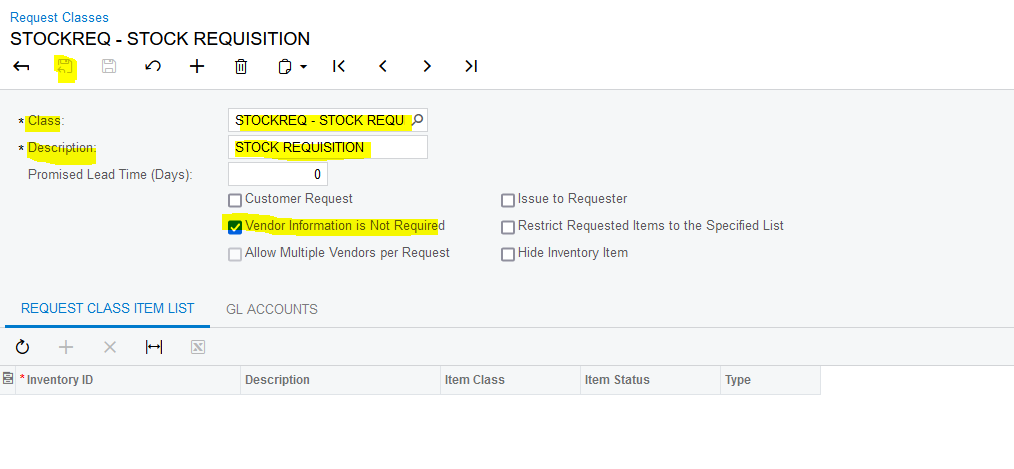
43. Click on the " + " (Add Row) to add the needed Request Classes for Kanban Requests:
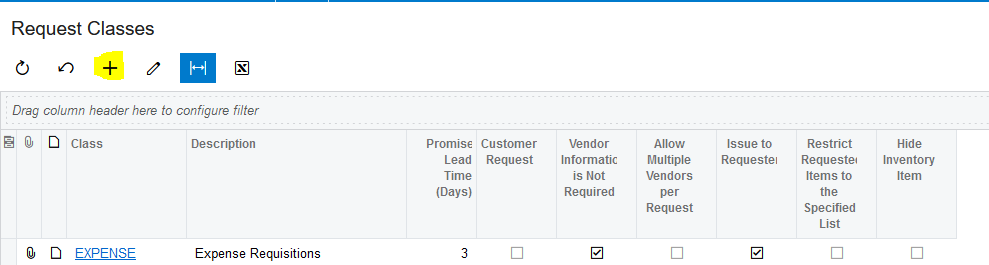
43. Create the following two Request Classes for the Kanban Requests with the information as below, type in "KANBAN" and "STOCKREQ" in the "Class" field and "KANBAN" and "STOCK REQUISITION" in the "Description" field. Select "Vendor Information is Not Required", leave the rest as is and finally click on "Save & Close":
44. The Production Orders that you want to Pick for needs to be marked as "Allow Picking". Click on Production Orders>>>Show All:
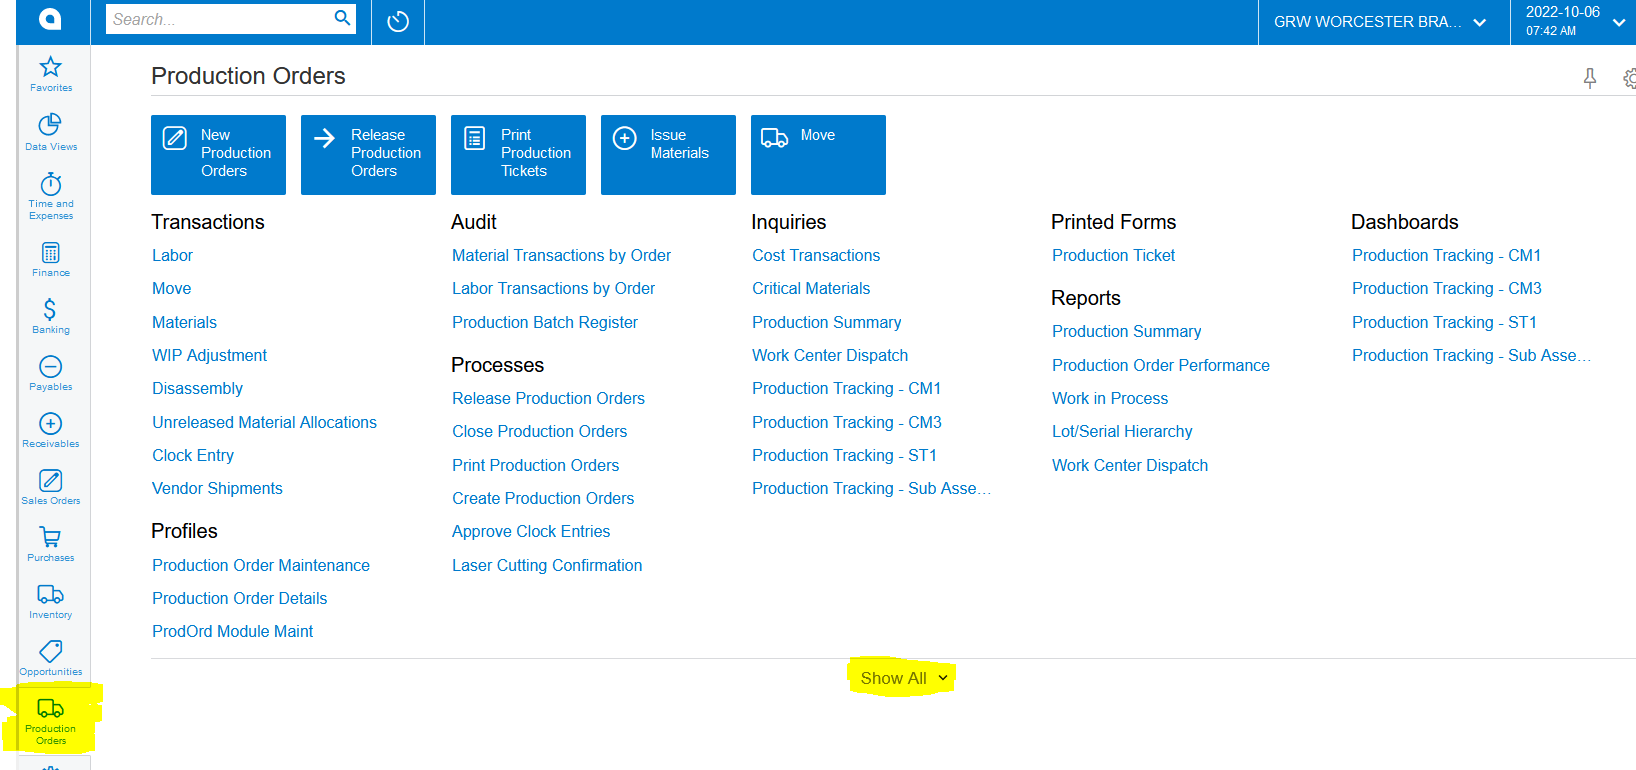
45. Click on Production Orders>>>Preferences>>>Production Order Types:
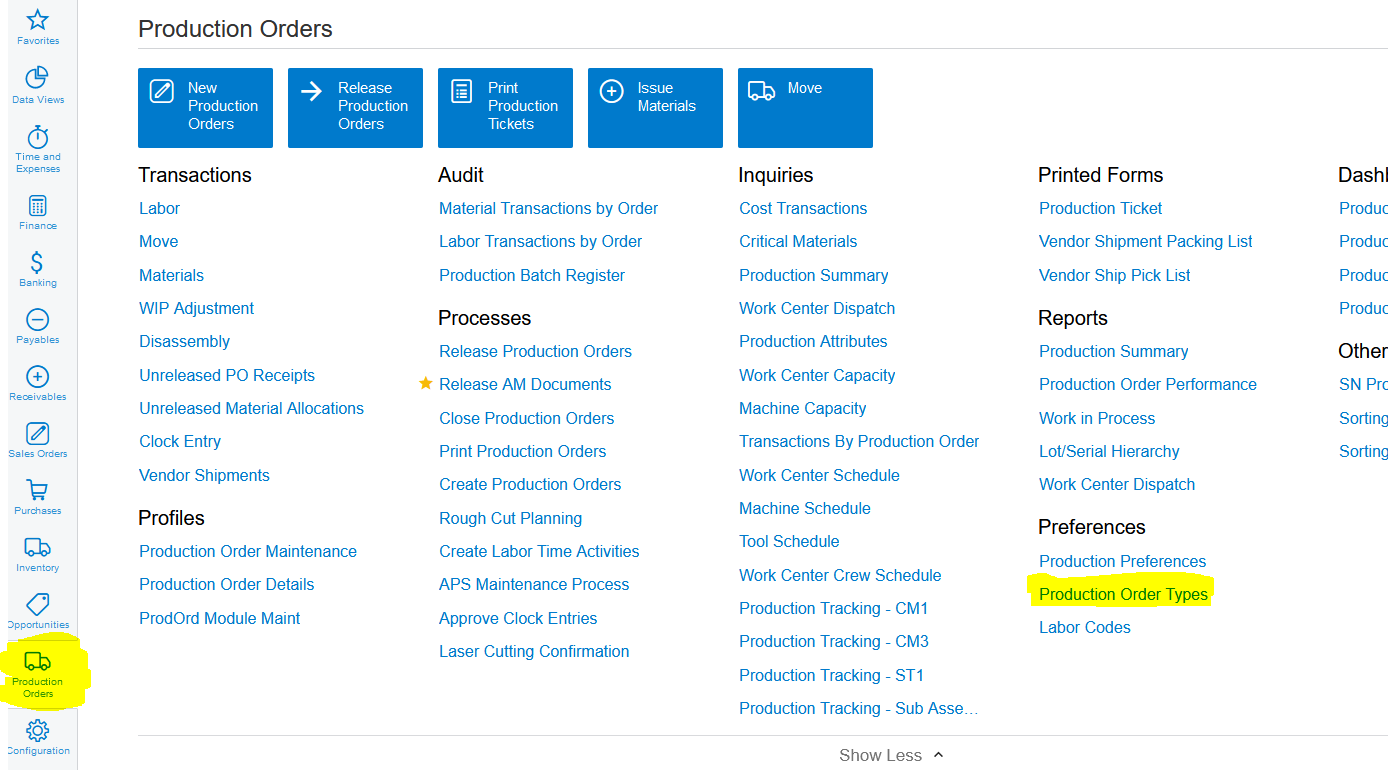
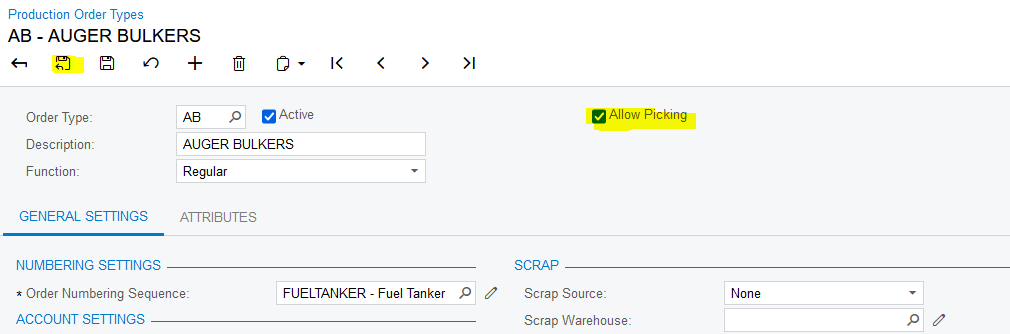
46. Click on each relevant Production Order Type that needs to used for picking:

47. Select the "Allow Picking" Checkbox and click on "Save & Close":
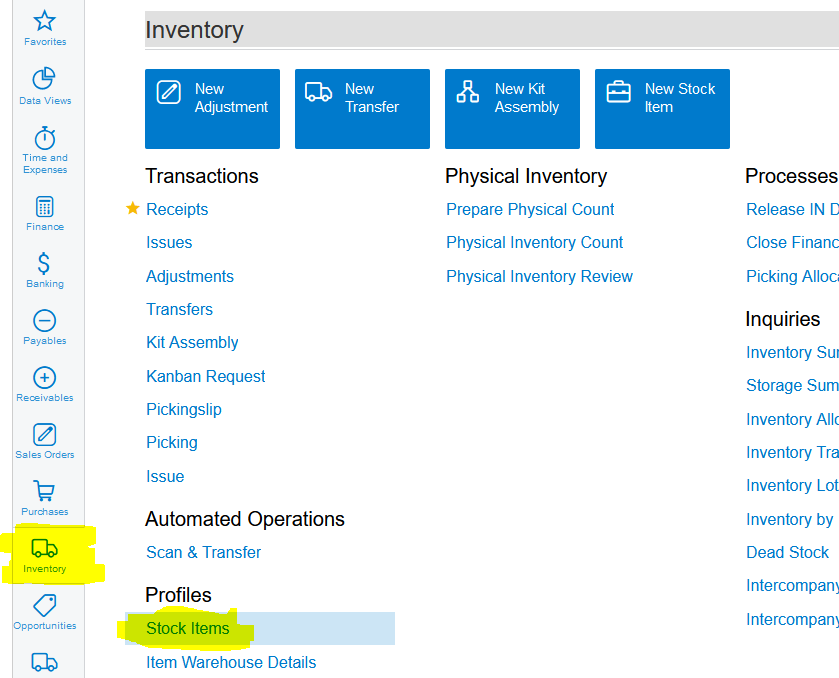
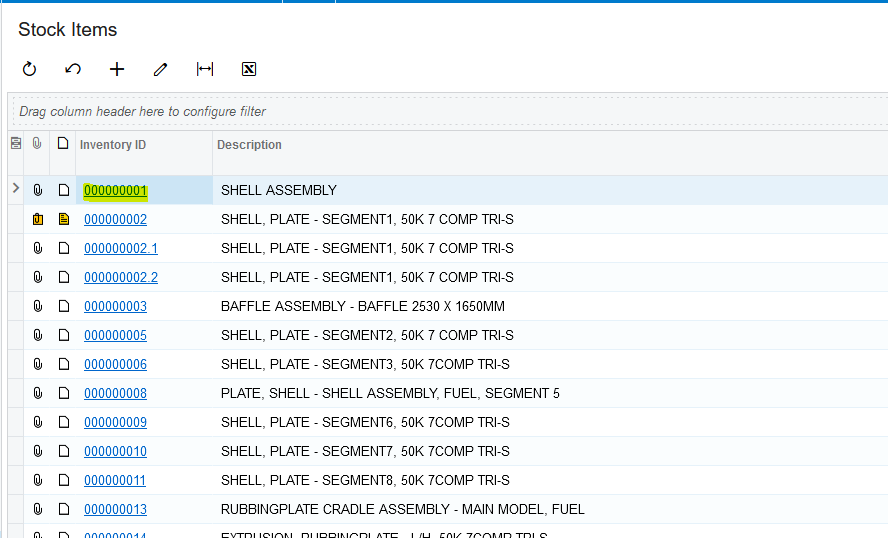
48. The Stock Items that you want to use on Pickingslips need to be selected as Picking on the Movement Class of the relevant Stock Items. Click on Inventory>>>Profiles>>>Stock Items:
49. Click on each relevant Stock Item that needs to used for Picking:
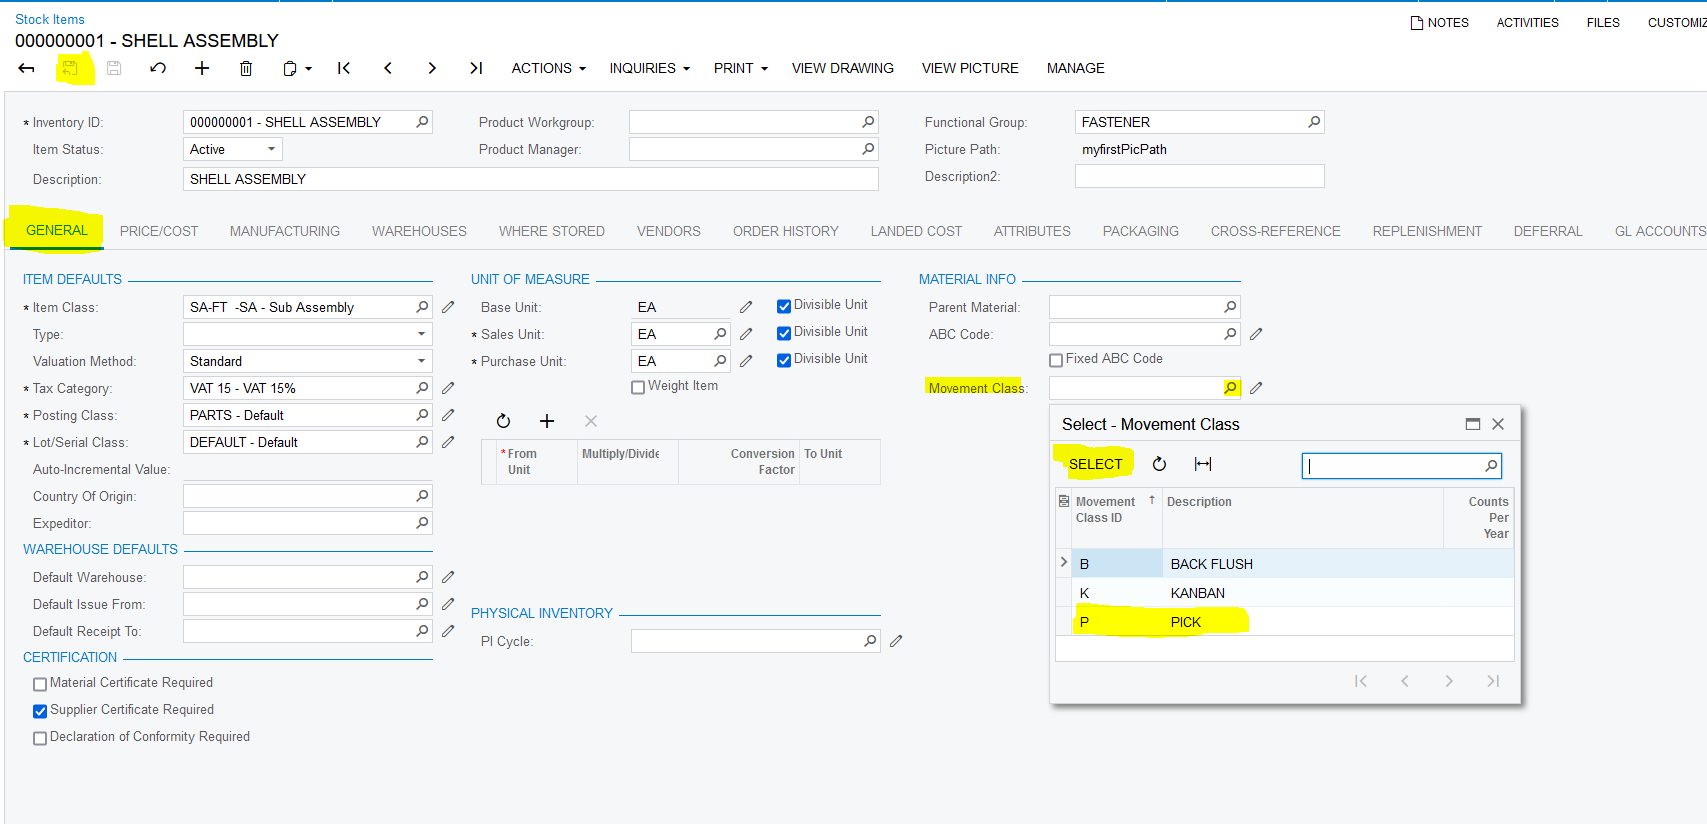
50. On the "GENERAL" tab and "Movement Class" field select "P" for Picking and click on "Save & Close":
51. The Stock Items that you want to use for Kanban Requests need to be selected as Kanban on the Movement Class of the relevant Stock Items. Click on Inventory>>>Profiles>>>Stock Items:
52. Click on each relevant Stock Item that needs to used for Kanban Requests:
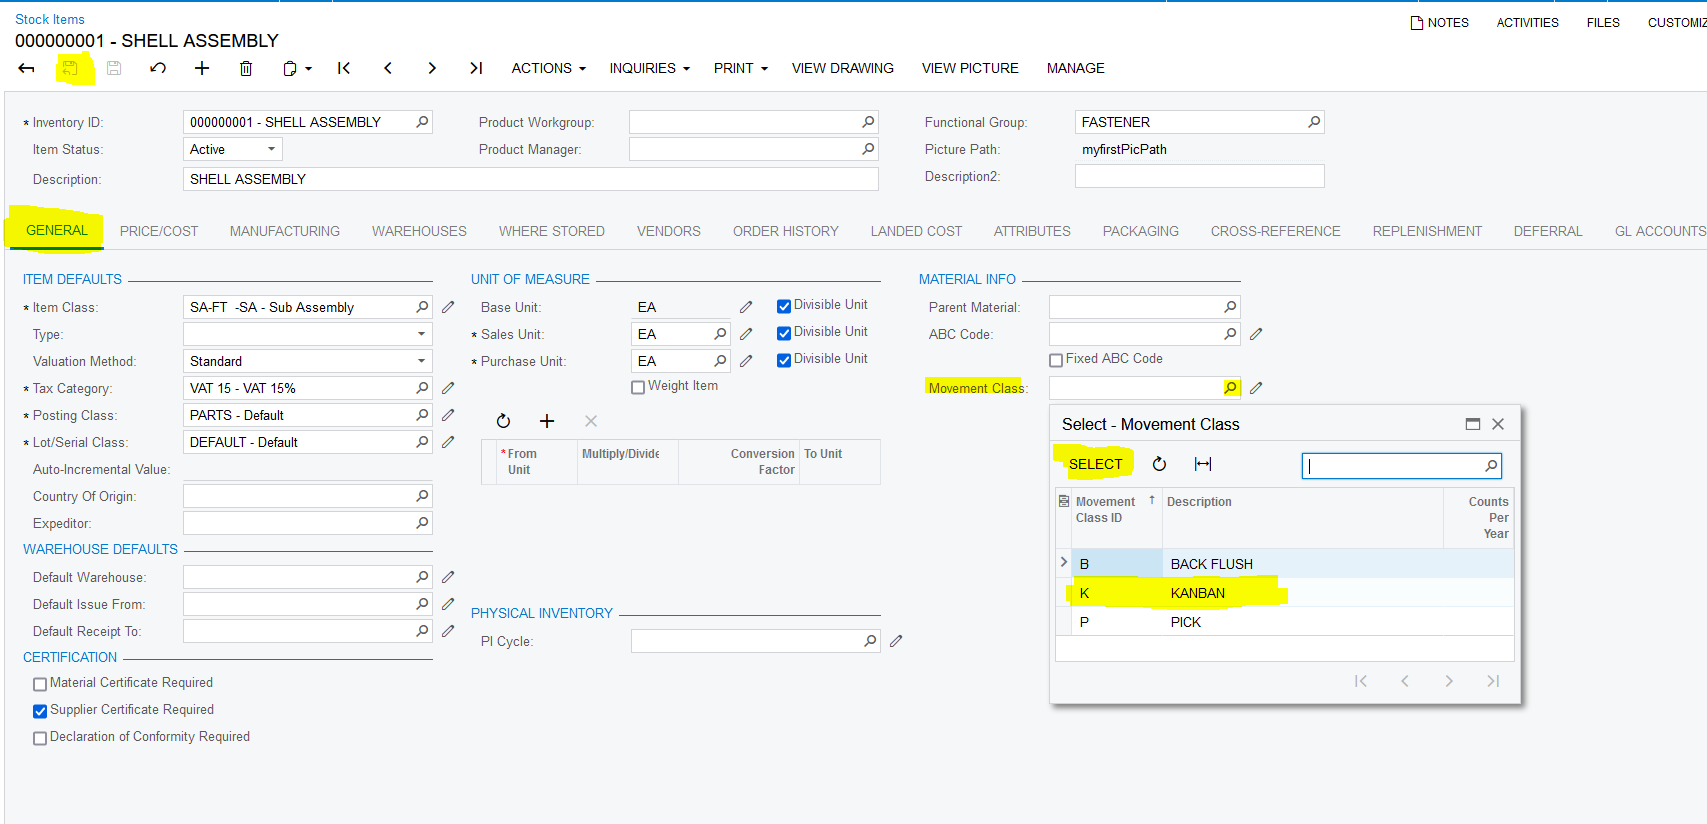
53. On the "GENERAL" tab and "Movement Class" field select "K" for Kanban Requests and click on "Save & Close":
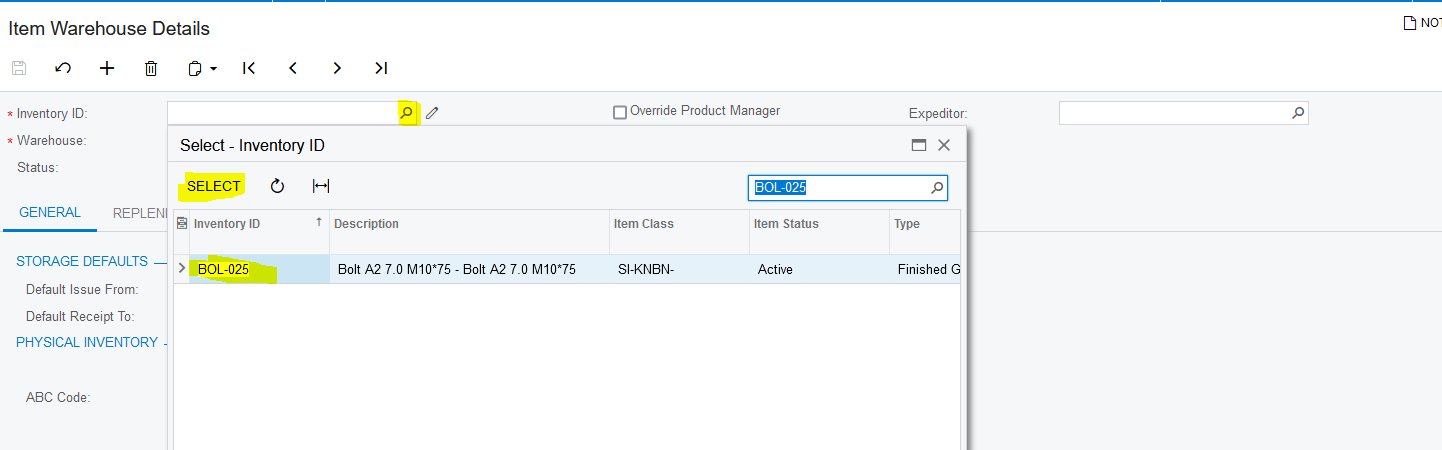
54. Replenishment Locations for the Kanban Stock Items also need to be Setup. Click on Inventory>>>Item Warehouse Details:
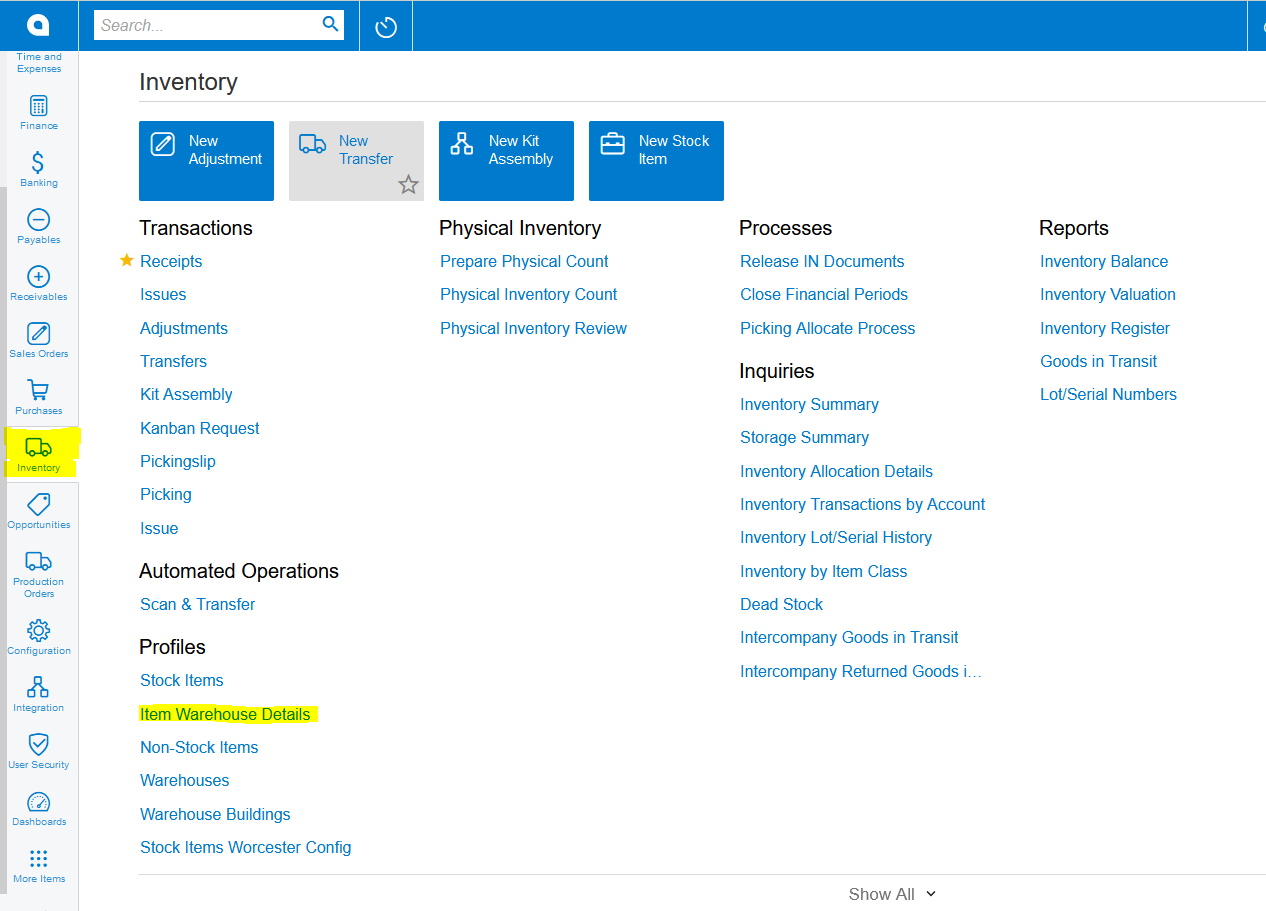
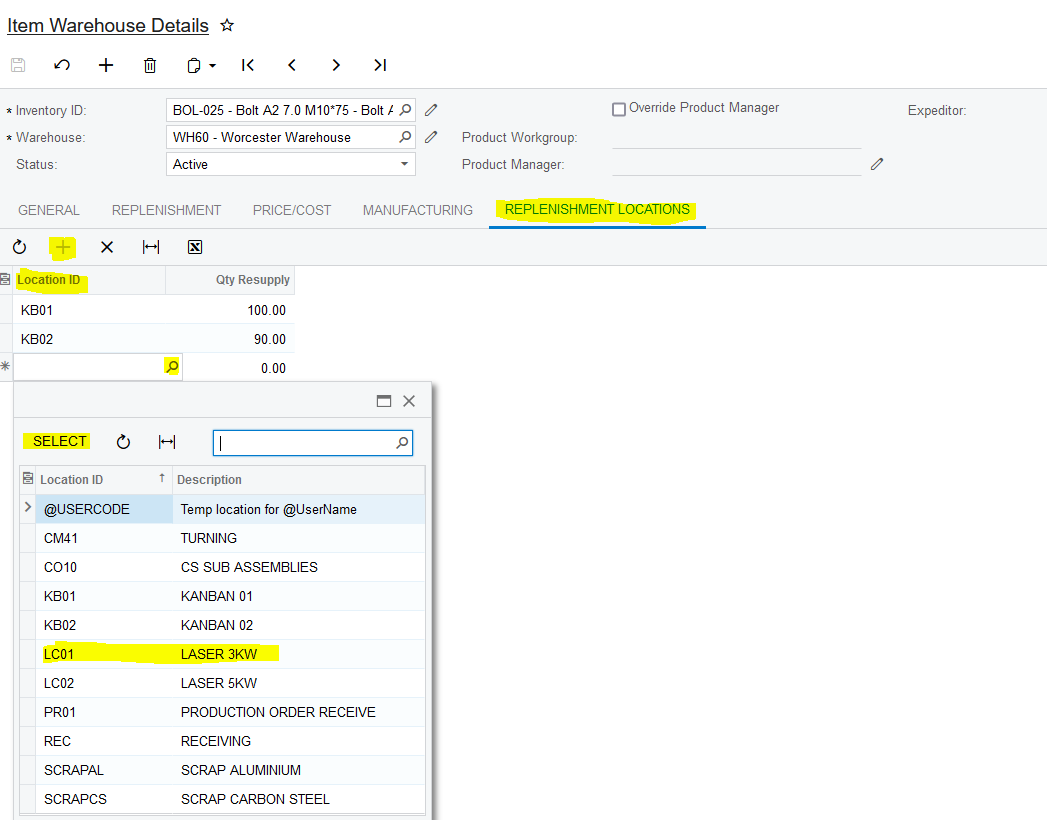
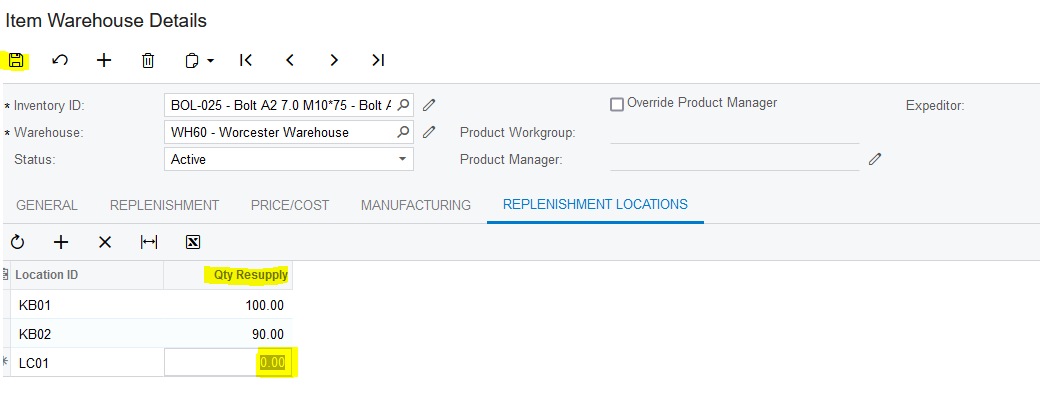
55. Select the Stock Item that will be used for Kanban Requests. Click on the "REPLENISHMENT LOCATIONS", add the relevant Locations and the Quantity of Resupply. Once done, click on "Save":
Created with the Personal Edition of HelpNDoc: HelpNDoc's Project Analyzer: Incredible documentation assistant