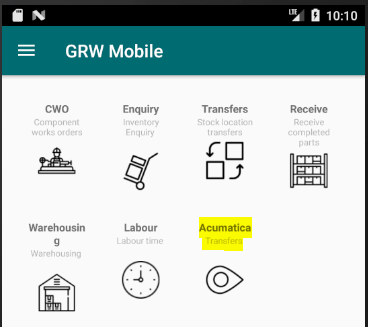
Transfers
Create a transfer on Acumatica
- Select Acumatica transfers from the home menu
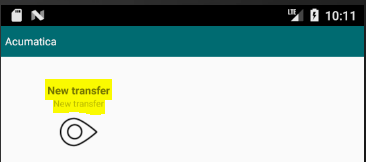
After selecting "New transfer" the logged in employee code is sent to the web-service to check if the employee exists and the default branch gets returned to be used when creating the transfer on Acumatica. If the employee does not exists an error message will be returned and the screen will close.
- Select Transfer type. 1-Step - Immediate transfer. 2-Step - Requires an additional receiving transaction.
- Select a From warehouse - If 1-Step was selected the To warehouse will be pre-filled with the From warehouse value.
- Select a To Warehouse - If 2-Step was selected the To warehouse will be cleared and a selection can be made.
- Select a Date - Clicking on the text field, a calendar popup will appear and a date can be selected. The date defaults to today.
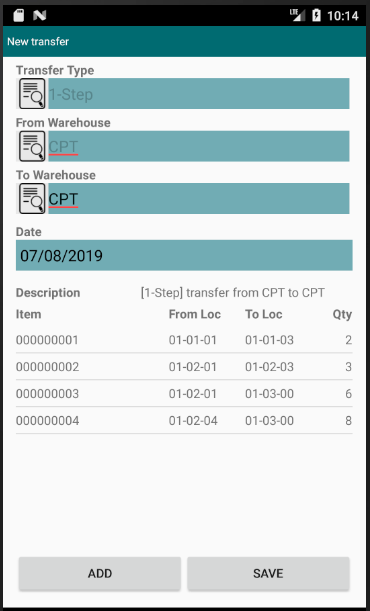
- Add inventory items - Click ADD.
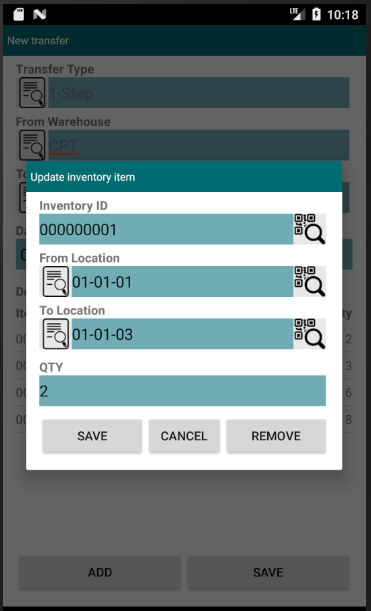
- Scan or enter an inventory item.
- Select or enter a From Location
- Select or enter a To Location - If 2-Step was selected this field will be removed.
- Enter a QTY
- If inventory items are added the user will be unable to change the From Warehouse & Transfer Type selections. This is similar to the validation rules on Acumatica web. To enable From Warehouse & Transfer Type selections, remove all items in the list by clicking on the item and then click the remove button.
Final Notes :
- Validation will take place throughout the entire process and a message box will be shown if required selections needs to be made.
- Once all the required fields are filled in, the save action will create the transfer on Acumatica in a "Balanced" status and can be released using Acumatica's web interface.
Created with the Personal Edition of HelpNDoc: Free Qt Help documentation generator