How to create a new Company\branch (ZAR Company)
1. Go to configuration> Companies
2. Use another company as copy for a new company. Make the structure is the same, like only one branch and ZAR company.
3. Complete and change all details under Company details tab.
4. Create new role for the company to allocate users that may access this branch. Go to User Roles and copy another user role for this role.
5. On the config> company details tab, select the Acces Role under Configuration settings.
6. Go to users and link the admin and administrators to the new role.
7. Not necessary to do any changes on the other tabs on Company.
Go to branches - check if the branch is auto created.
8. All different forms need to be changed to have this new company's details. (Most of the time, it is address details and banking details)
9. Start with Purchases, Sales Orders, Receivables, Payables - go to printed forms under each of them.
10. Purchase
- Purchase order (go to 11. Sales orders - printed forms - Proforma Invoice and follow the steps.
- Request for proposal not necessary.
- Receipts not necessary.
- Requisition not necessary.
11. Sales Orders
Printed forms -
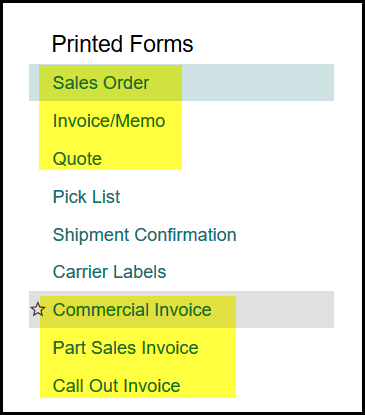
Proforma Invoice(you will find under sales order in the above screen captured) -
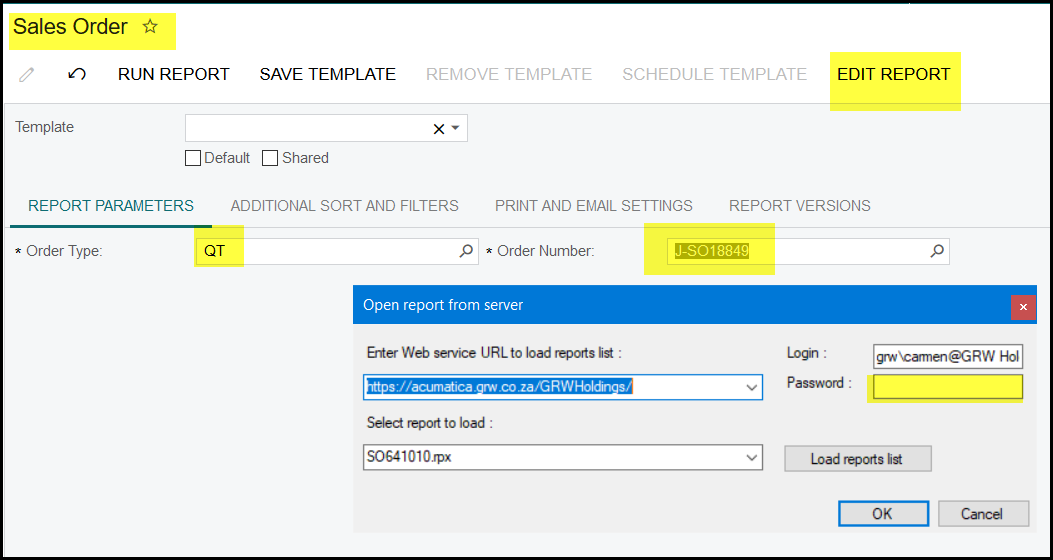
- Go to printed forms>Sales order> Run report on a quote type
Edit report - enter password and OK>
- Click on the address details. There will be two blocks. Copy one and move it down. Please leave one original on the same place and do not make changes this will help when you need to put them back again that all is on the same position and size.
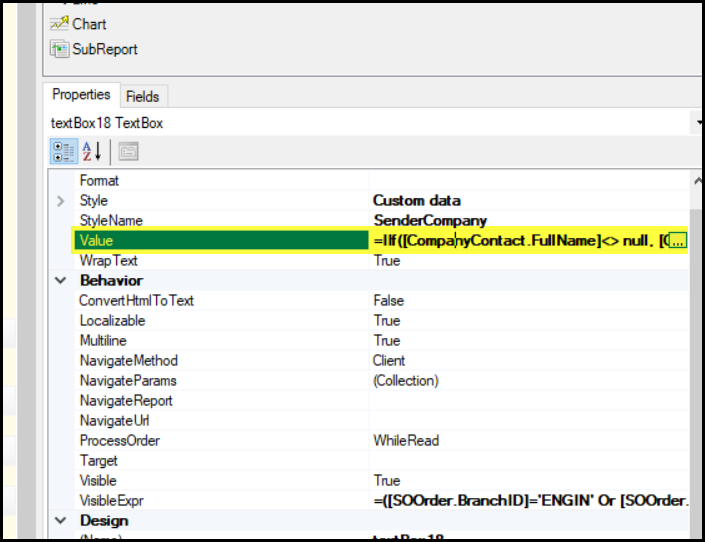
- Go to 'Visible Exp'.
- Click on the .... see below.
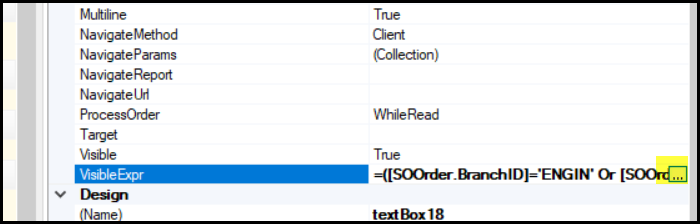
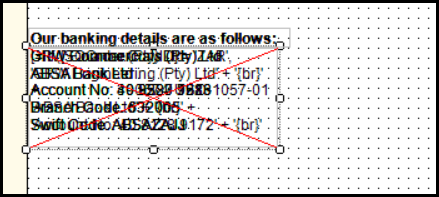
- Remove all the details from the blue arrow up to the green arrow, see Figure no. 1. Also remove the bracket in the beginning see red arrow.
- See figure no 2. Edit 'ENGIN' with your new company's details.
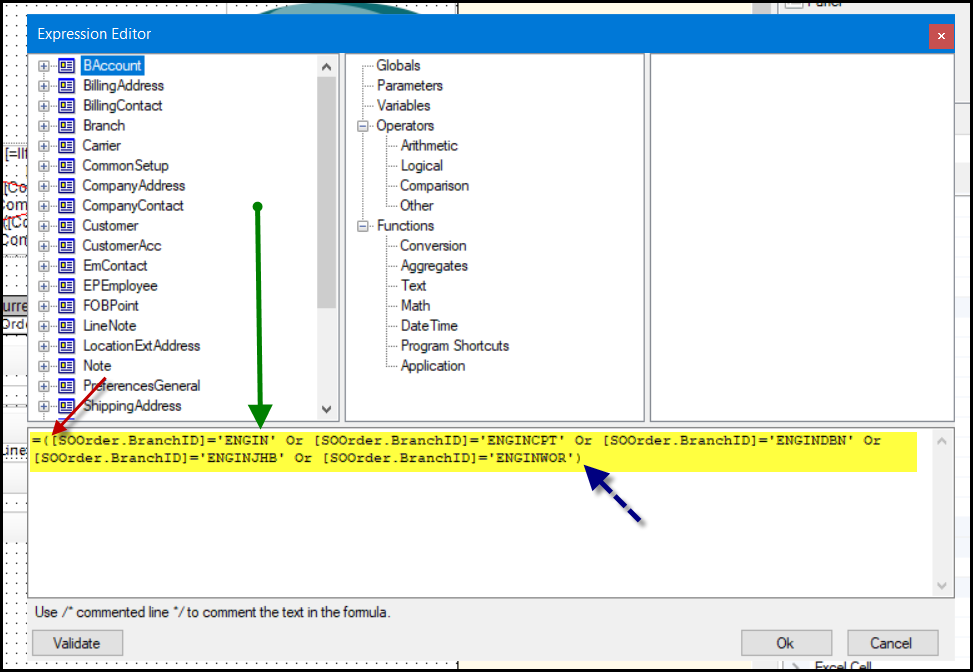 Figure No. 1
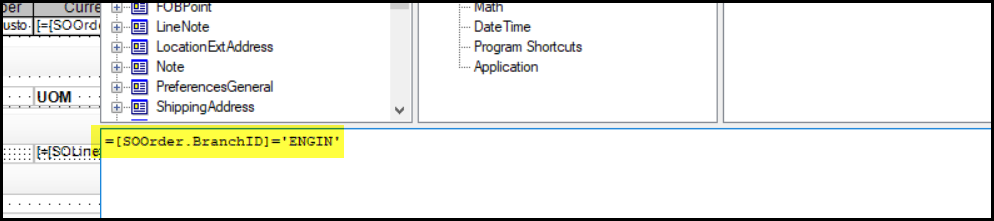 Figure no. 2
- Click on "validate"
- Click on OK>
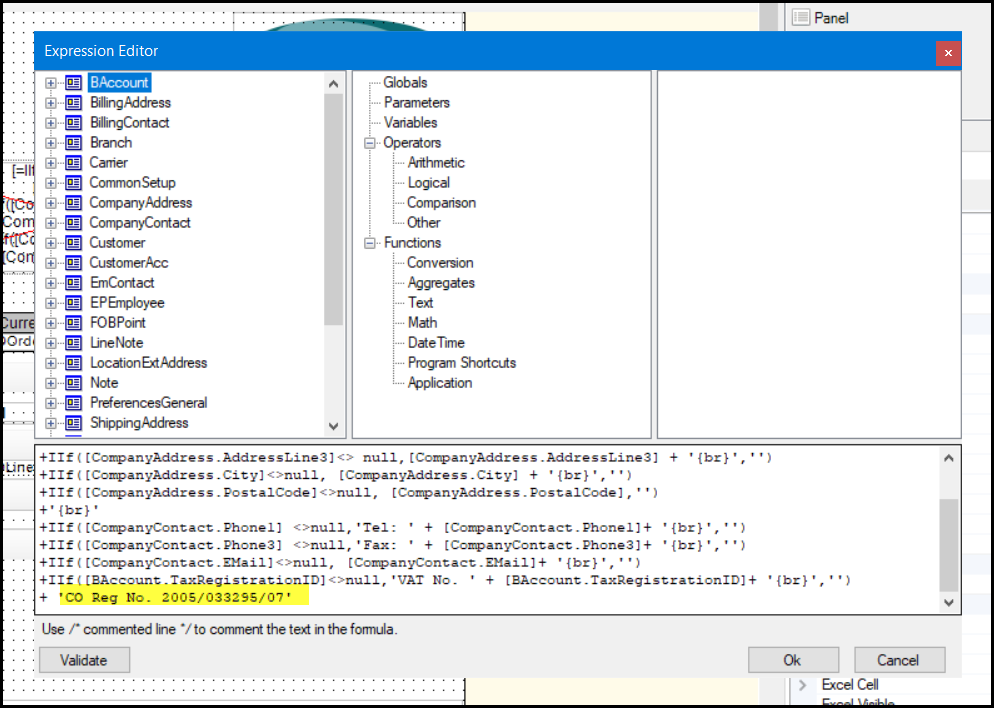
- Go to Value to edit only Co. Registration nr.
- Click on the ....see below.
- Change the Comp reg nr and click Validate and OK.
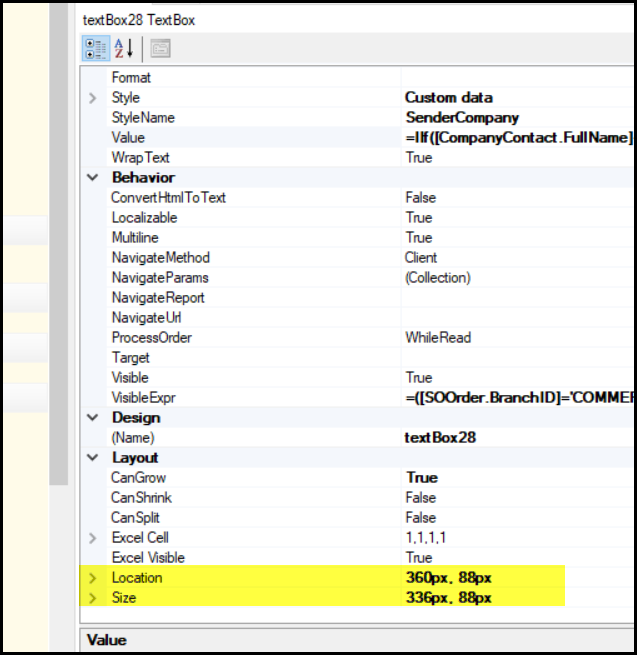
- To move the address details blocks to the original location with the rights size.
- Check all blocks and use the same size as the original one.
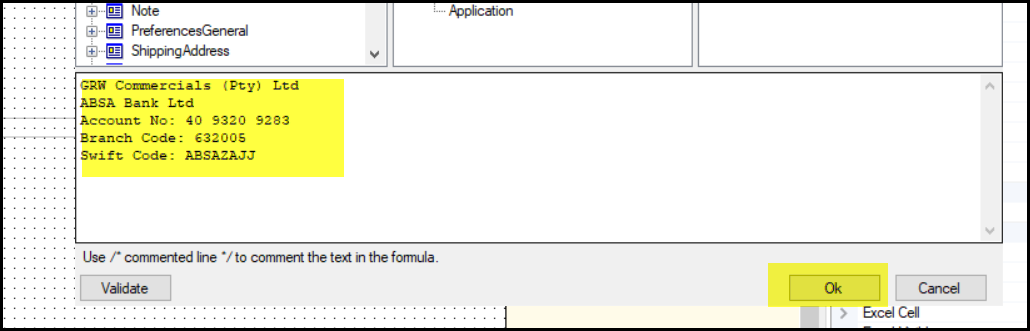
- Go to bank details and copy an applicable bank account to use for new company.
- Change visible Expr - same as above with address details.
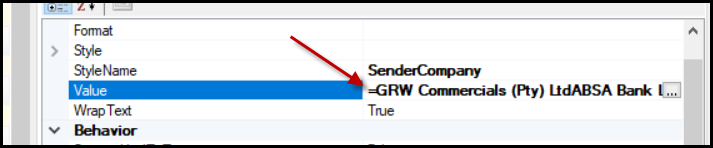
- Go to Value

- Click on .... and make changes to the bank account showing.
- Do not validate because it is text.
- Click on OK.
- After you clicked on OK, please remove the = sign, it was added by the system when you did the changes.
- Do the same when you move the bank details block back, all blocks must be on the same location and size.
- When done, save to server, rename to today's date or an appropriate naming convention, with the new revision tick on.
- Your proforma invoice is done. Refresh you site and check the printing details on the printed form.
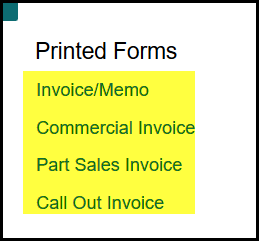
- Depending on the forms you will use, do the same with all these forms below.
12. When all the Sales order forms is done, go to Receivables.
13. Receivables>Printed forms
- Do the same with all the different forms. Only the one's that will be used in the specific company.
- The statement for customers also needs to be changed.
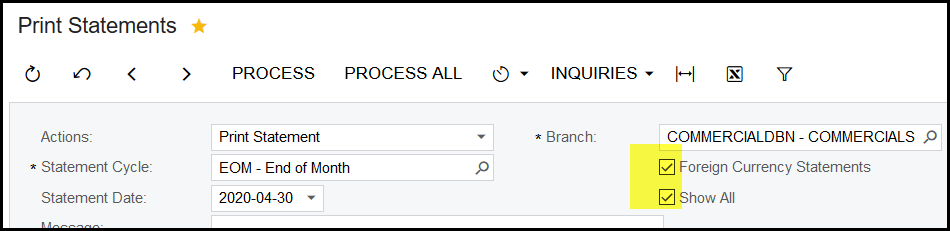
- Go to Processes>Print statements>
- You have to do the Foreign and local currency separate, so make sure to tick foreing currency statements as below and for the local one do not tick it.
- In the report there is two different address headings, one for the consolidation statement and the normal one. Do both.
- There are also two sets of banking details and it have all the bank accounts loaded.
14. Payables> - nothing to change.
15. Always save your form to server and tick 'new version'
16. Also remember to view your form before you go to the next one.
Created with the Personal Edition of HelpNDoc: Easily create PDF Help documents